Installing ESXi 8.0 Interactively
This blog post will walk you through how to install ESXi interactively.
Table of Contents
ESXi Requirements
Review the following:
Note: New Limitations with this Release
- Deprecation of USB or SD card devices for full ESXi installation: Starting with ESXi 8.0, legacy SD and USB devices are supported with limitations and certification of new platforms with SD cards is not supported. SD and USB devices are supported for boot bank partitions. The use of SD and USB devices for storing ESX-OSData partitions is being depreciated and the best practice is to provide a separate persistent local device with a minimum of 32 GB to store the ESX-OSData volume.
- ESXi boot memory requirements increased: The minimum memory requirements for ESXi to boot have increased from 4GB to 8GB. The minimum amount of memory needed to run VMs remains unchanged at 8GB.
- The ‘reboot -f’ option is not supported for ESXi installation with a DPU: Although ESXi supports the -f force reboot option, if you use reboot -f on an ESXi configuration with a DPU, the forceful reboot might cause an invalid state.
- You cannot install ESXi on DPUs by using Auto Deploy. You can use the interactive and scripted methods for fresh installations of ESXi on DPU.
Note: Upgrades and Installations Disallowed for Unsupported CPUs
- For ESXi hosts using Broadcom bnxtnet NIC drivers, make sure the NIC firmware is a compatible version such as 222.1.68.0 or higher, before you install or upgrade to ESXi 8.0.
- vSphere 8.0 no longer supports CPUs which have been marked as End of Support or End of Life from hardware vendors. For more details, see VMware knowledge base article 82794.
- Deprecation of legacy BIOS: In vSphere 8.0, booting ESXi hosts with the Unified Extensible Firmware Interface (UEFI) is strongly recommended. Some ESXi 8.0 hosts might not successfully boot in legacy BIOS mode.
- ESXi System Storage Overview
- ESXi Hardware Requirements
- Using Remote Management Applications
- Recommendations for Enhanced ESXi Performance
- Incoming and Outgoing Firewall Ports for ESXi Hosts
- Required Free Space for System Logging
- VMware Host Client System Requirements
- ESXi Passwords and Account Lockout
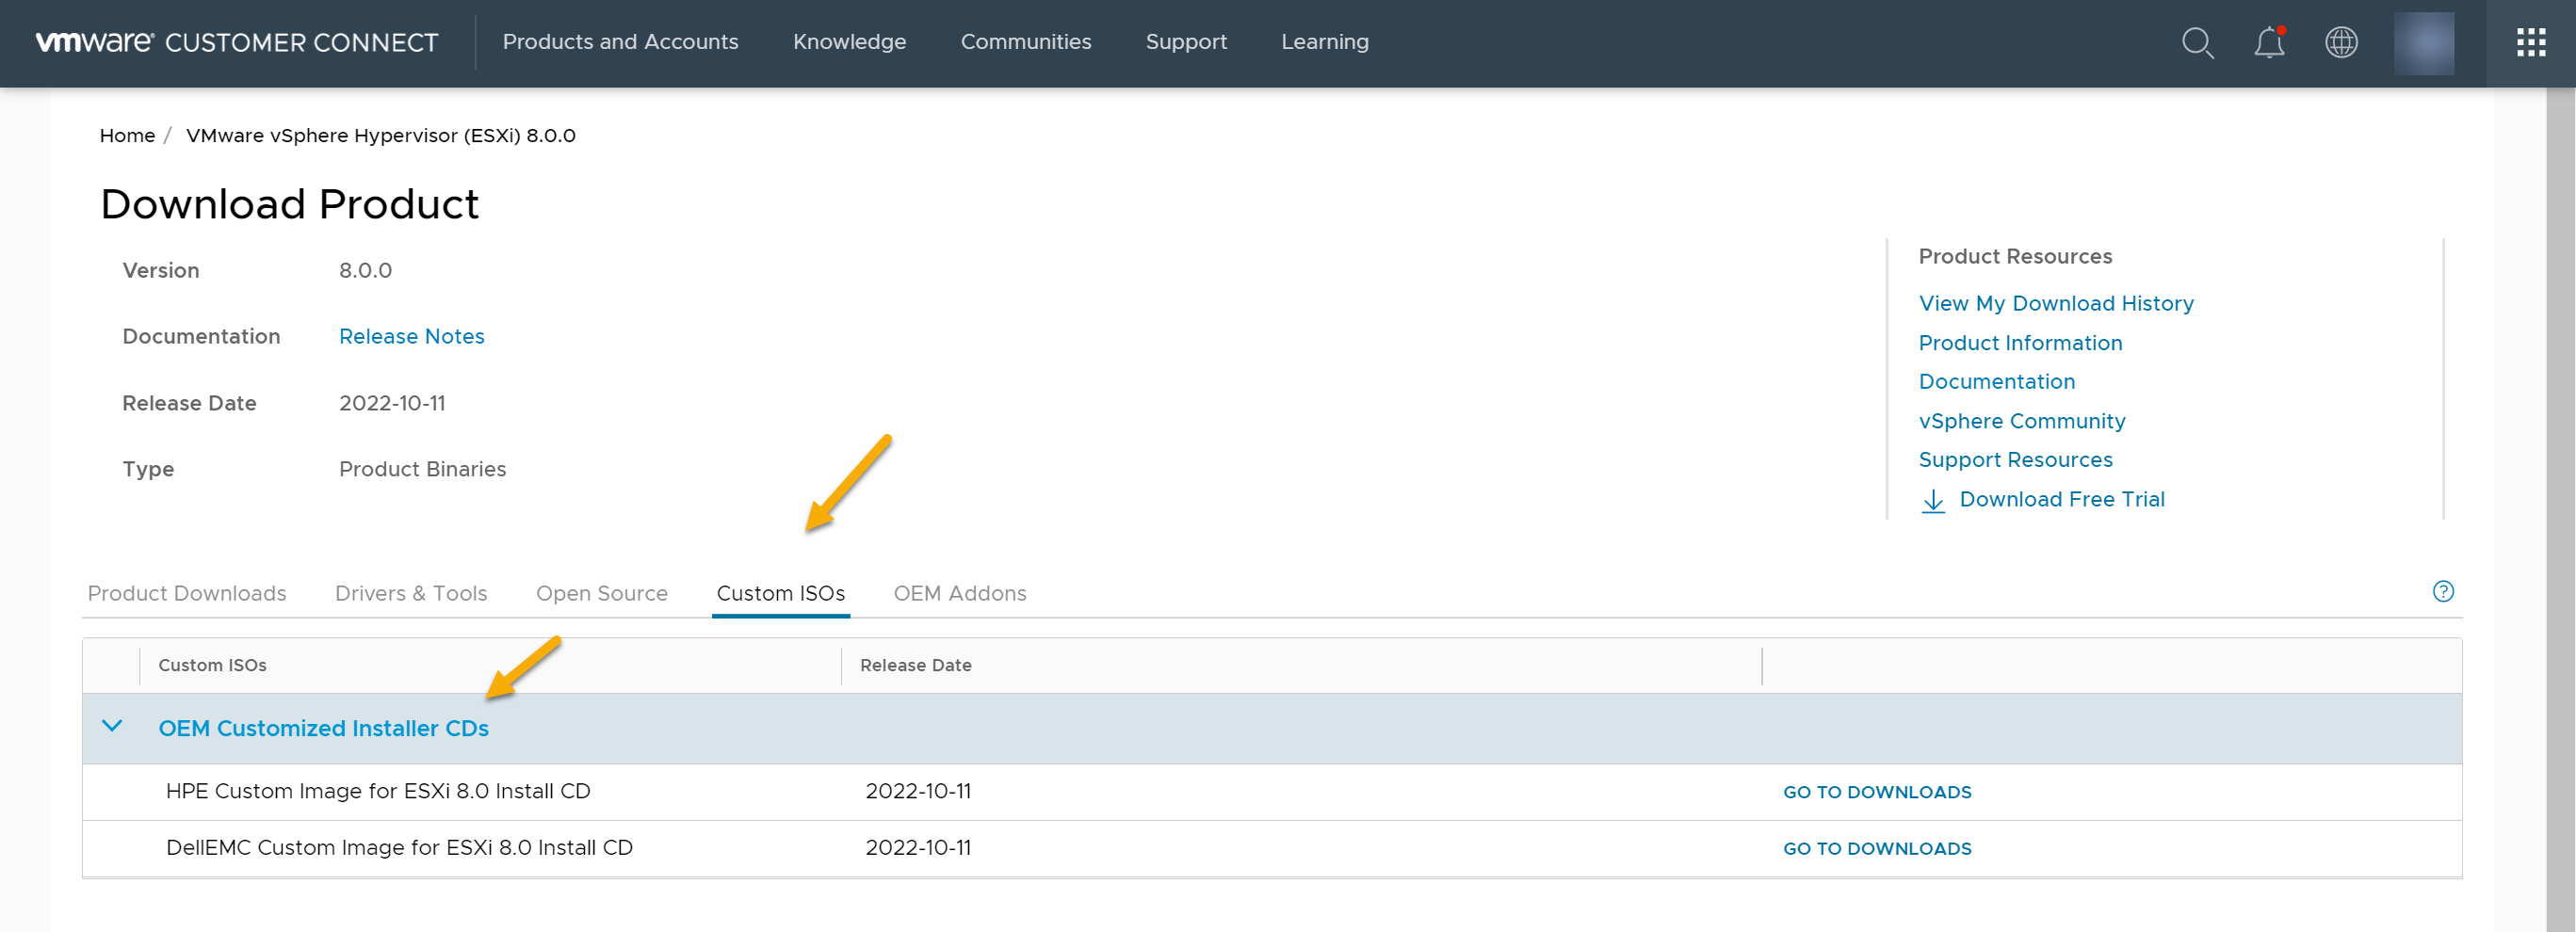
Downloading ESXi Installer
Note: Check with your server vendor to verify they don’t provide custom ISO with vendor specific drivers before continuing. In this DEMO I will be using standard ESXi ISO.
- Log in to VMware Customer Connect with Customer Connect Account
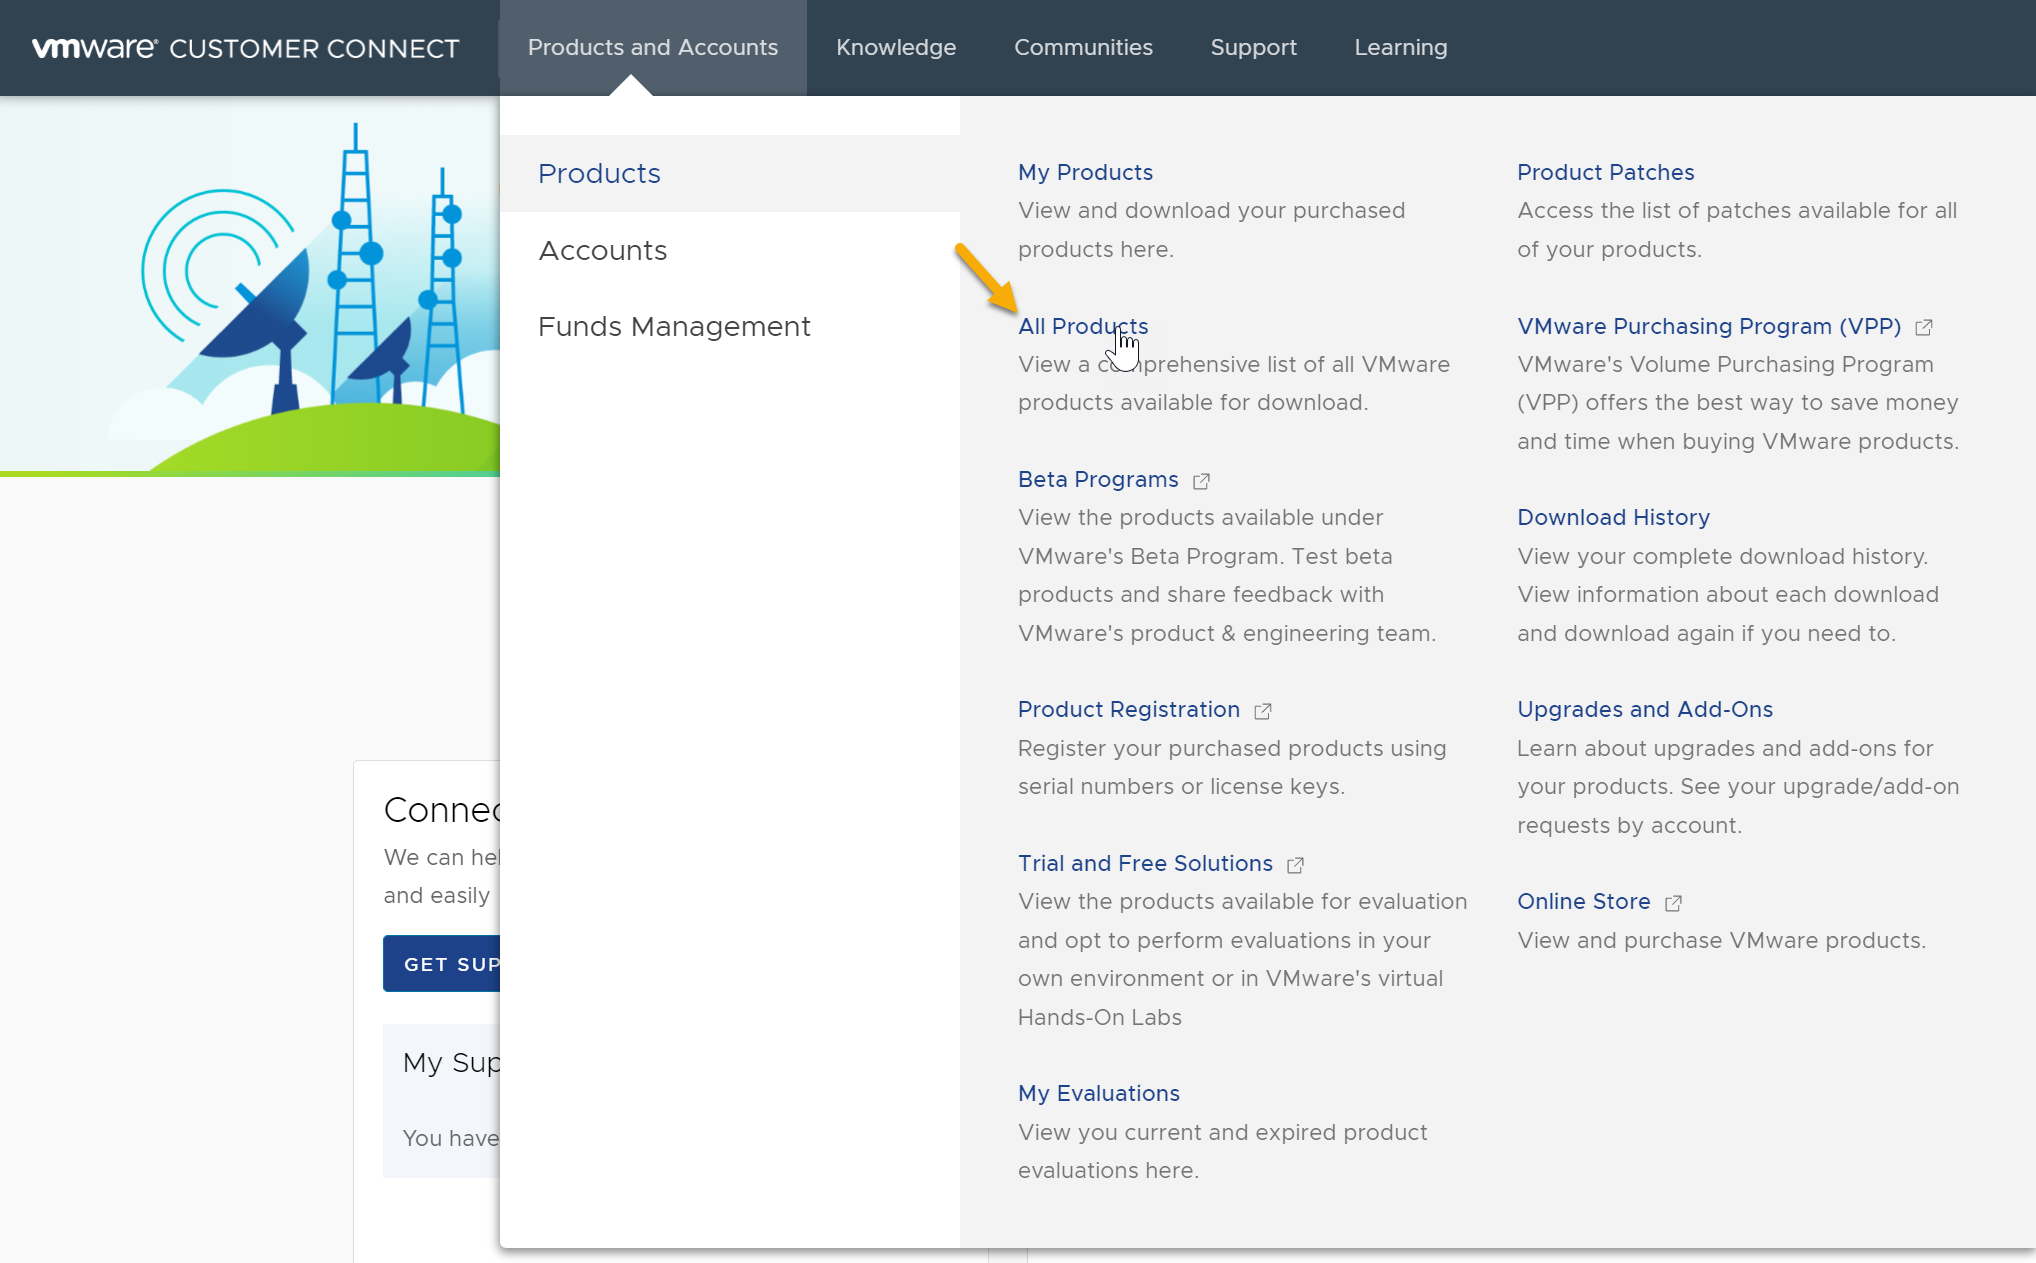
- Navigate to Products and Accounts > All Products.
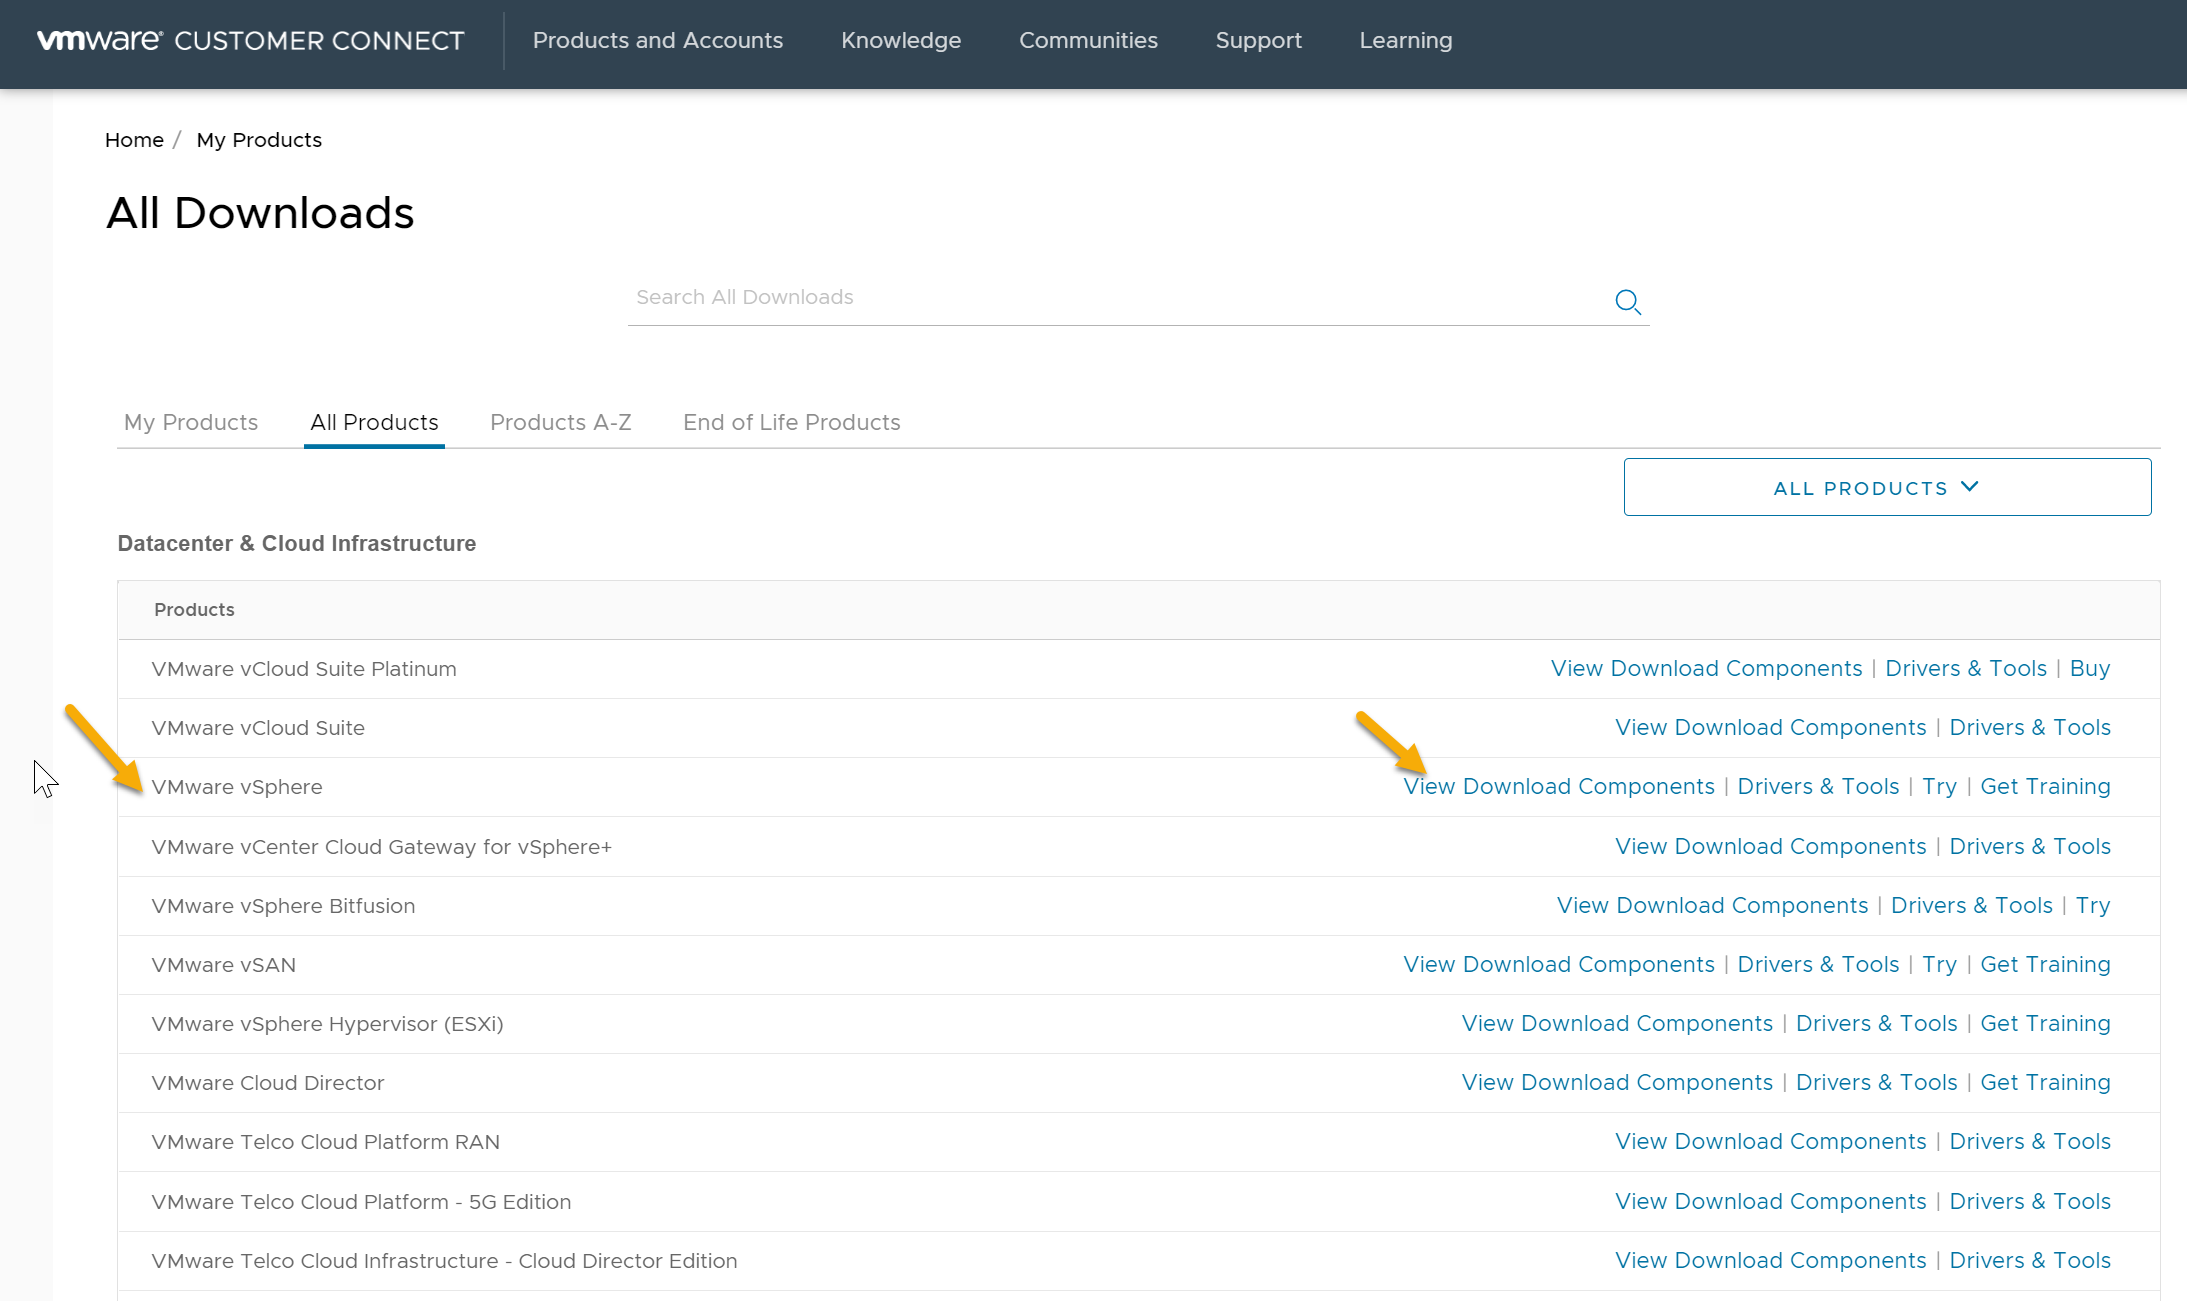
- Find VMware vSphere and click Download Product.
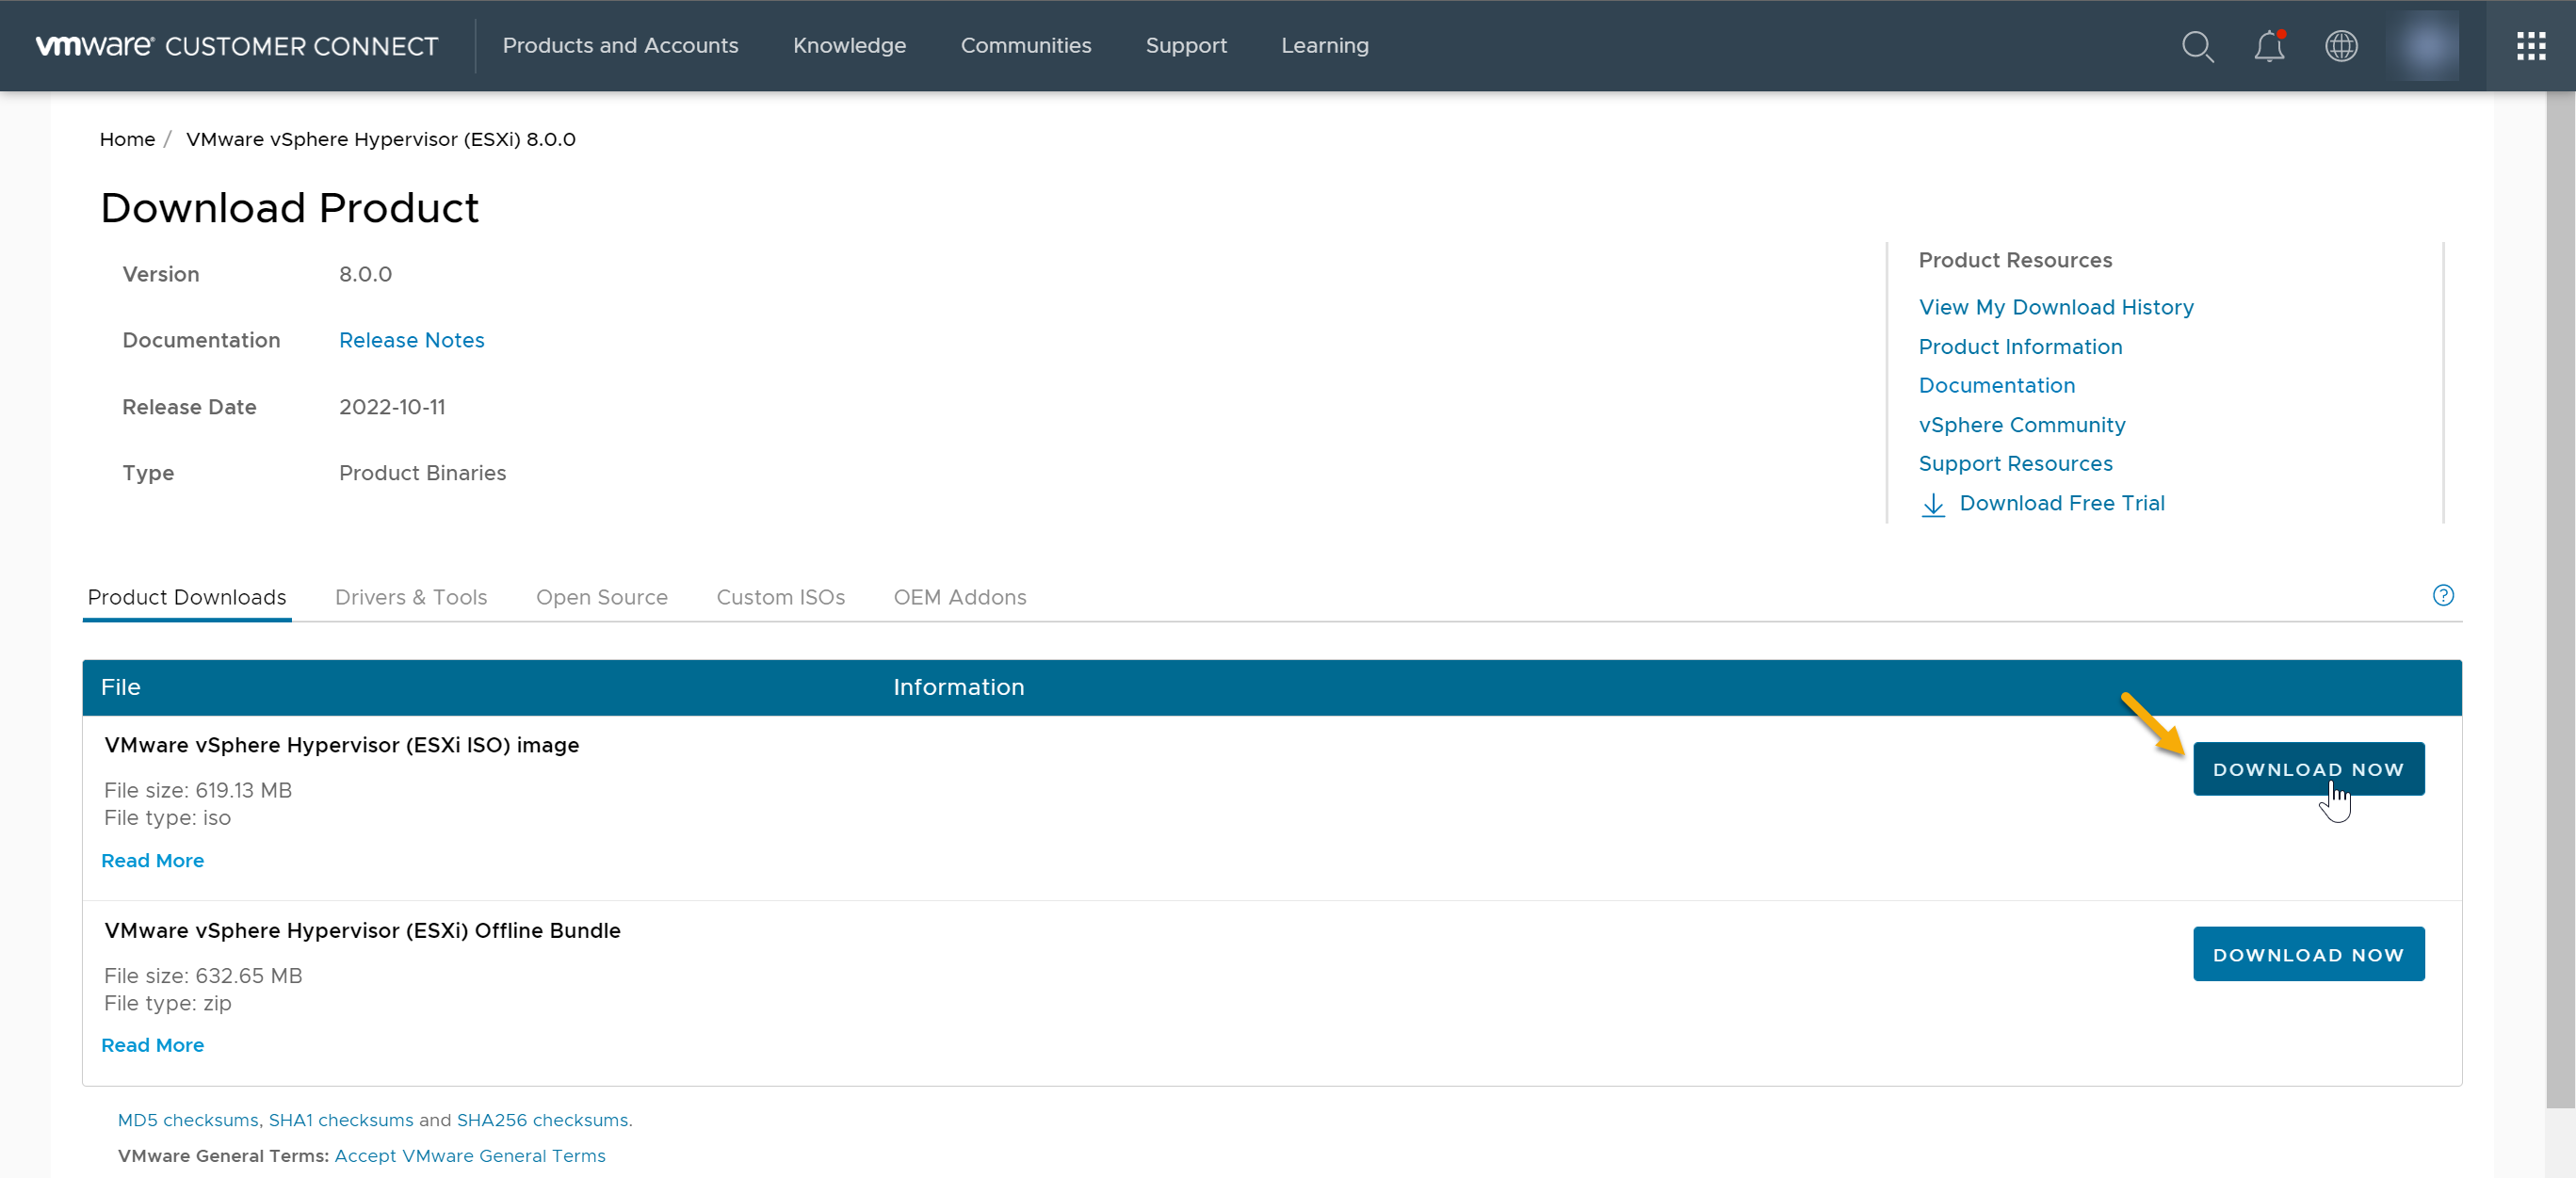
- Select a VMware vSphere version from the Select Version drop-down menu.
- Select a version of VMware vSphere Hypervisor (ESXi) and click GO TO DOWNLOADS.

- Download an ESXi ISO image
Note: See “Custom ISOs” for vendor specific custom ISOs.
Installing ESXi
In this Demo I will be installing ESXi on server via IPMI. I will be mounting the ISO through its remote console and installing ESXi interactively.
Note: I highly recommend that you Enable UEFI with Secure Boot and make sure TPM is configured in the BIOS before installing ESXi 8. As the deprecation of Legacy BIOS support was annoucned in this release.
If TPM is configured and enabled, the ESXi host will encrypt ESXi configuration. This feature was added in vSphere 7.0 Update2. See “Securing the ESXi Configuration” for more info. .
- Boot from the ESXi installer ISO via USB, IPMI, idrac, iLO, etc.
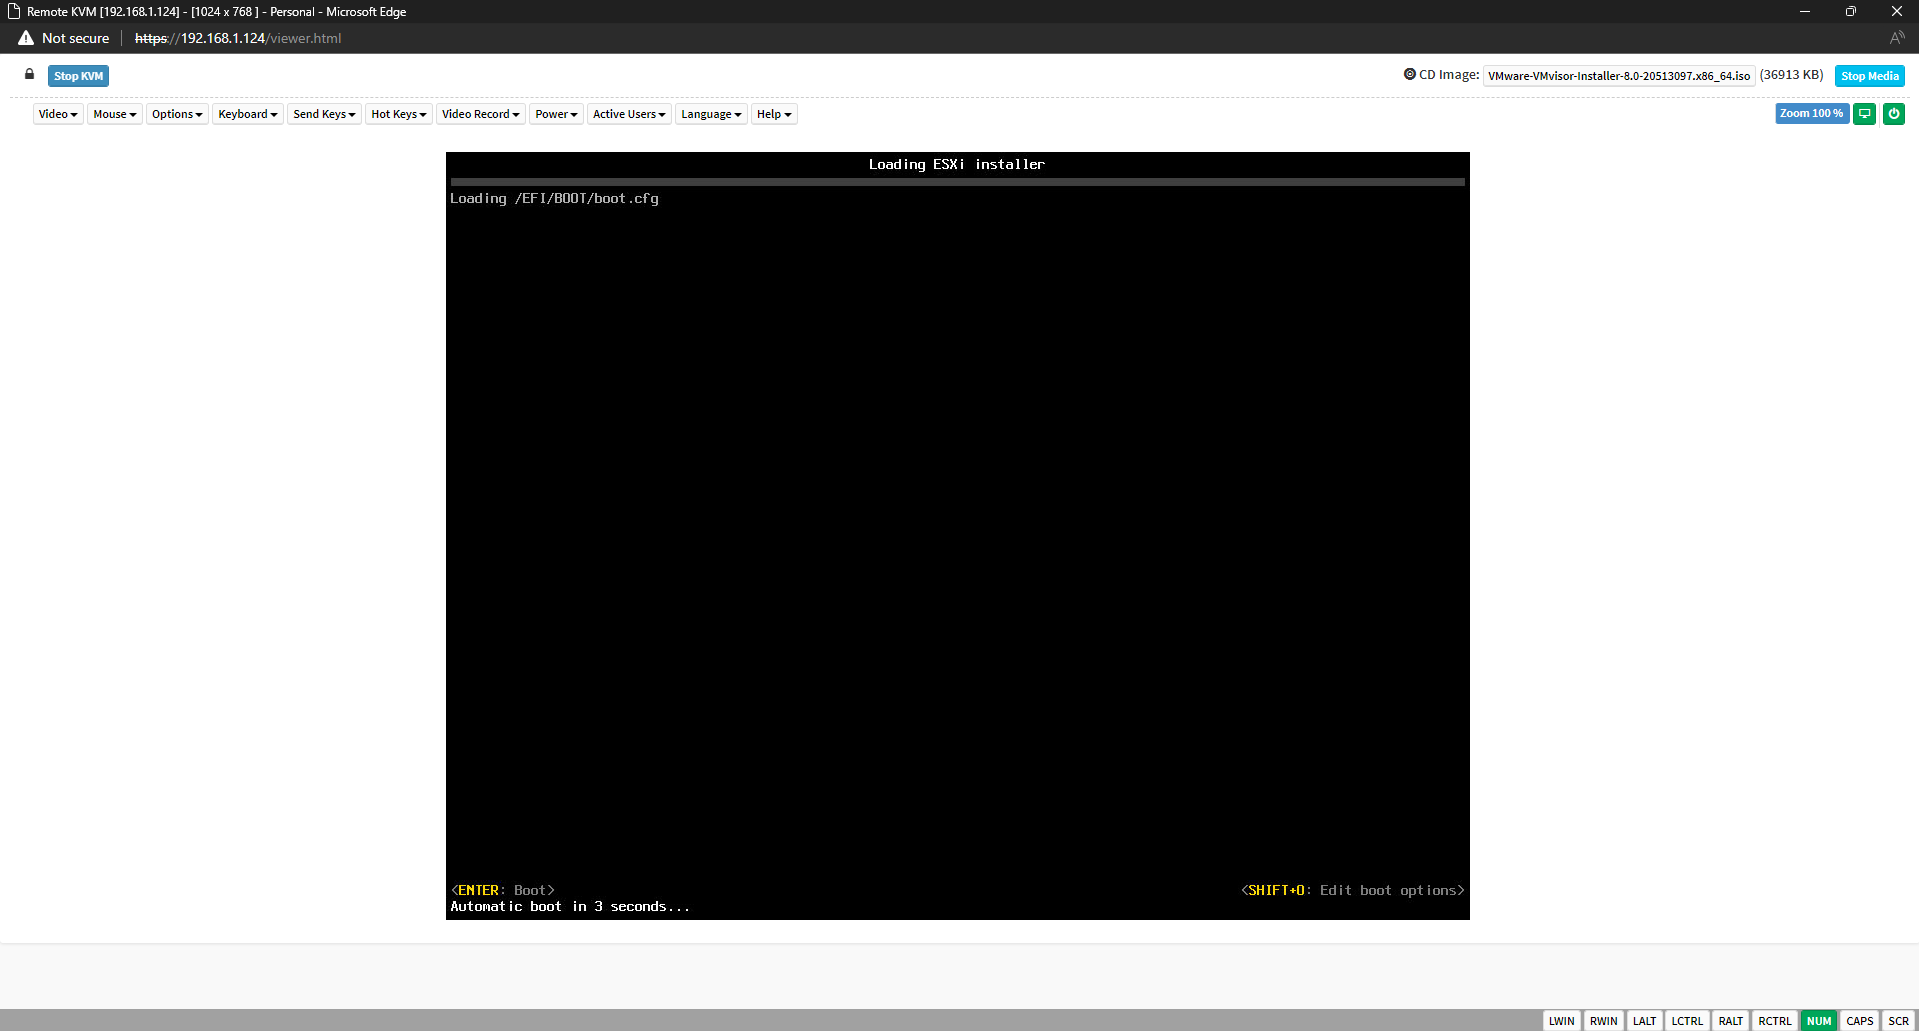
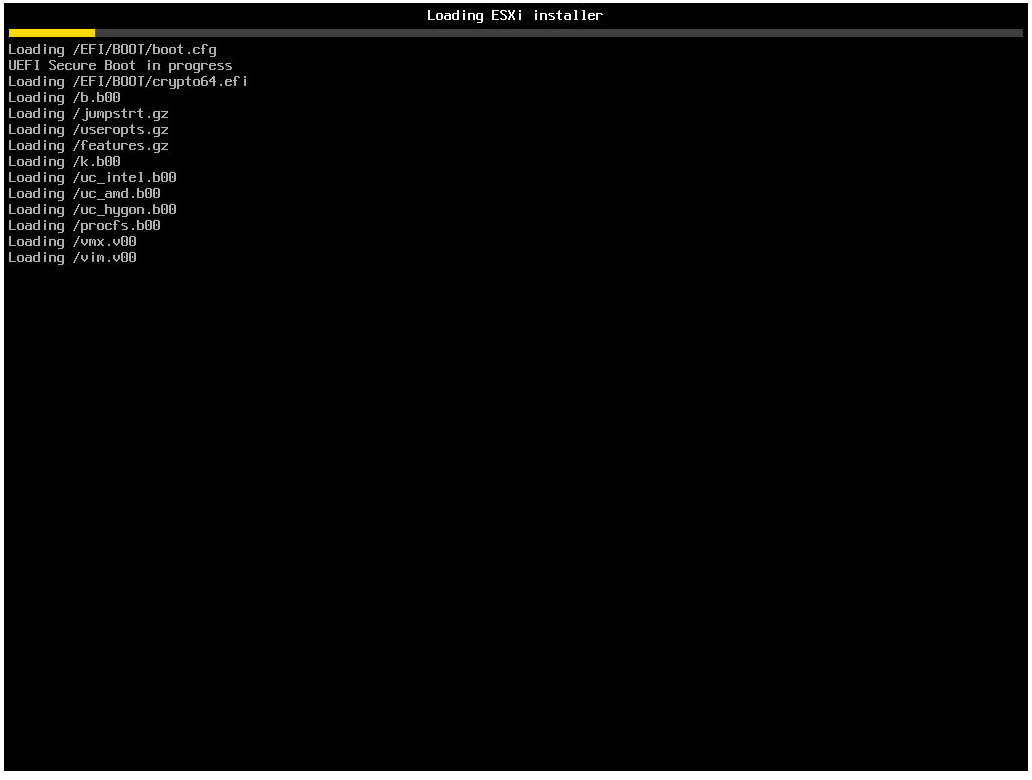
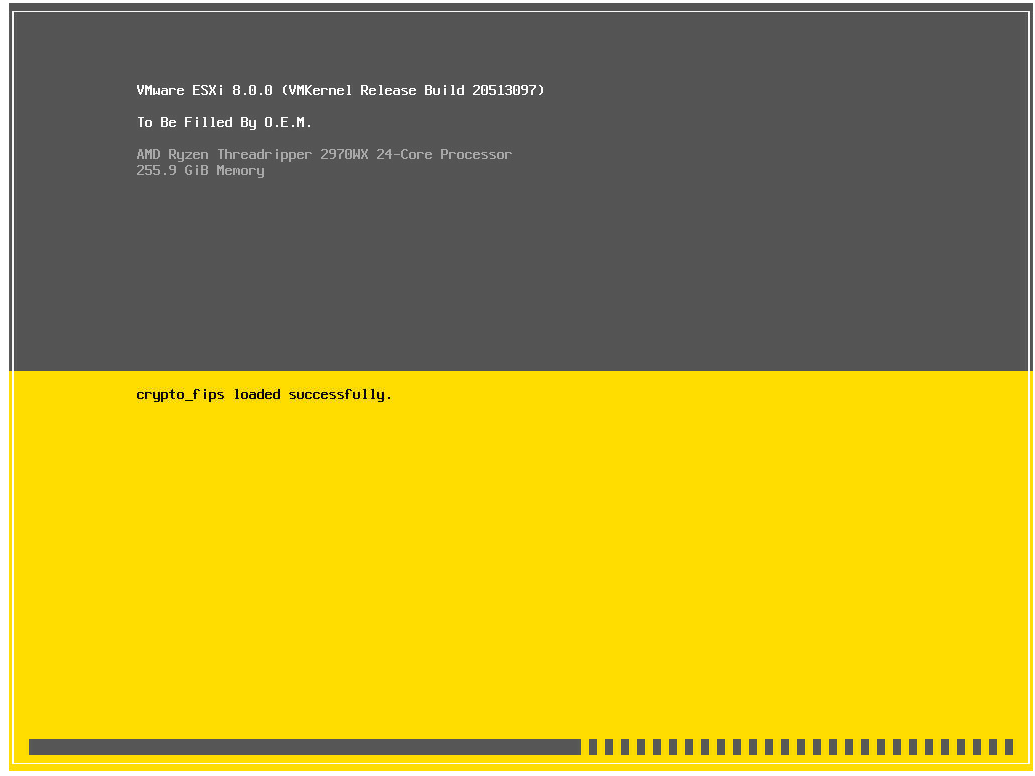
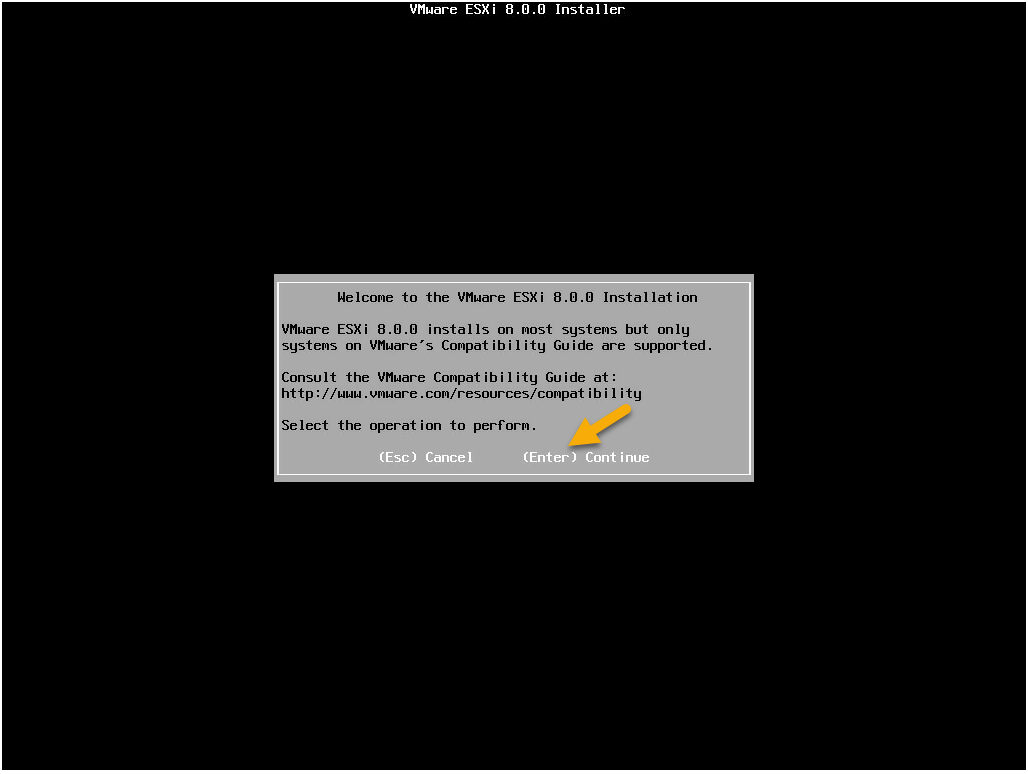
- After loading the ESXi insatller, press the “enter” key at the “Welcome to the VMware ESXi Installation” dialog box.
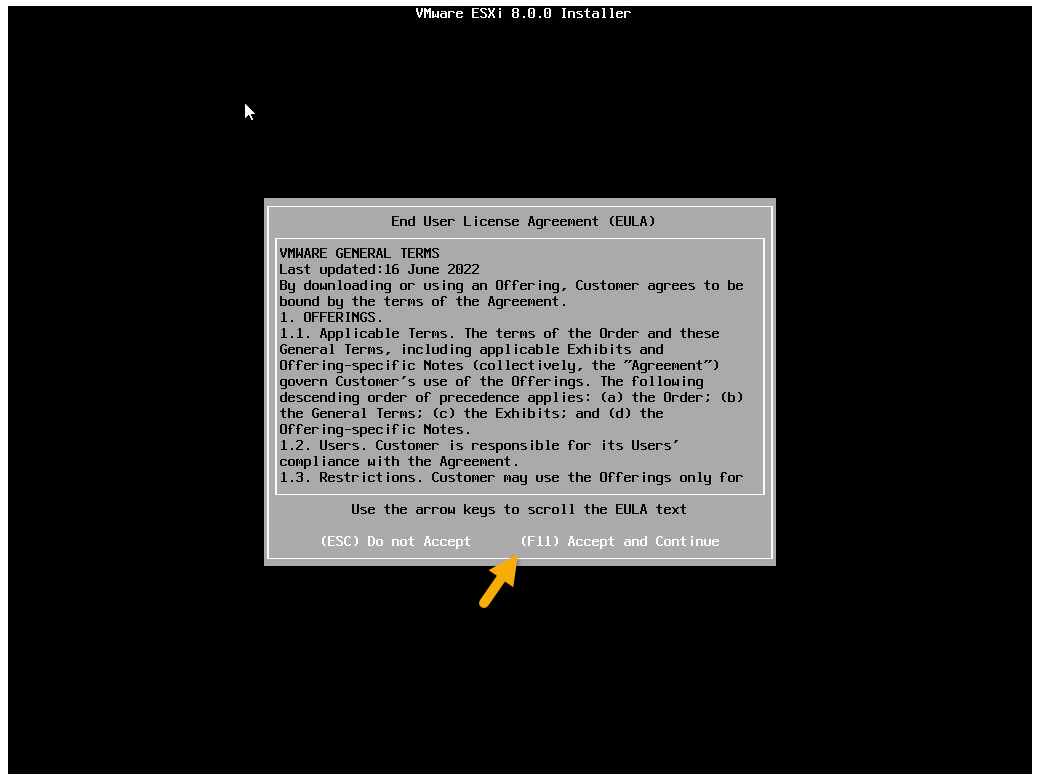
- Press “F11” at the “End User License Agreement (EULA)” dialog.
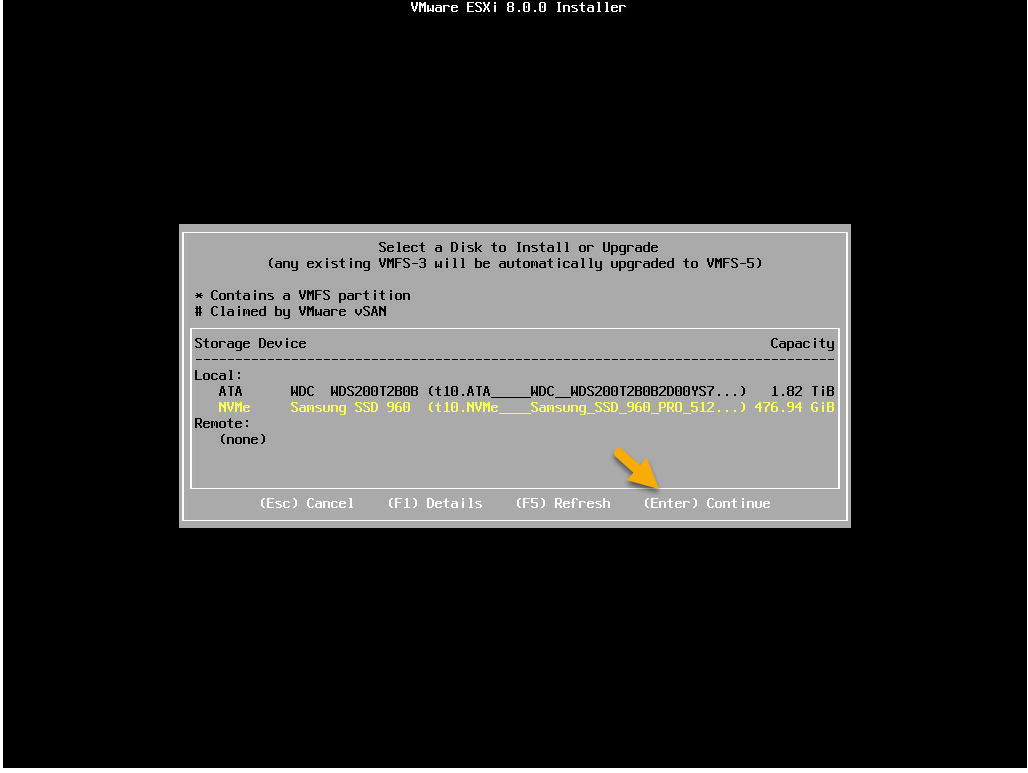
- The ESXi installer will scan for storage devices. After storage devices have been discovered, use the arrow keys on your keyboard and select the storage device you want. Press “Enter” to select the storage you want to install ESXi partitions on.
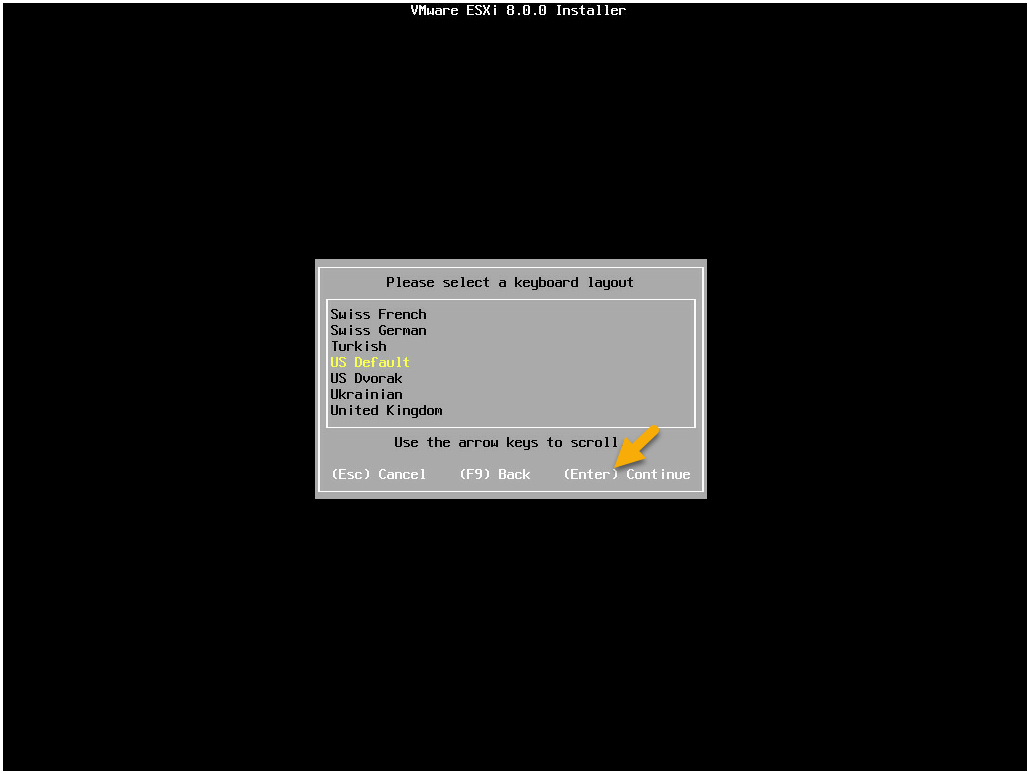
- Select your keyboard layout, use the arrow keys on your keyboard to scroll and then press “Enter” to continue.
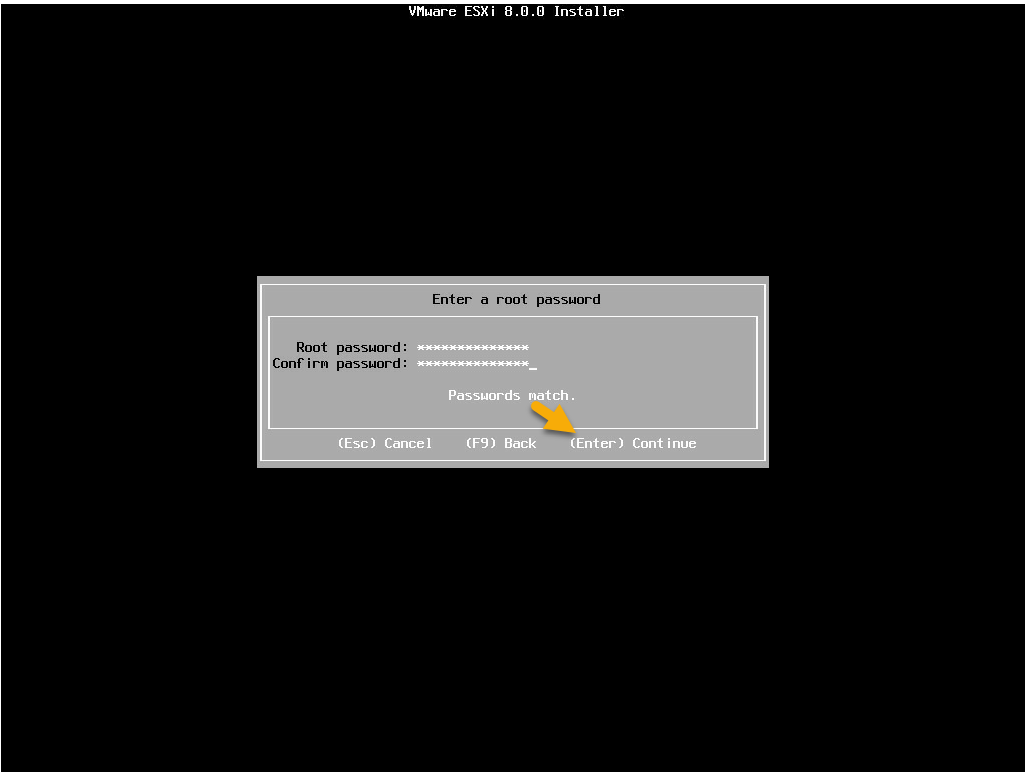
- Enter a root password and then press “Enter” to continue.
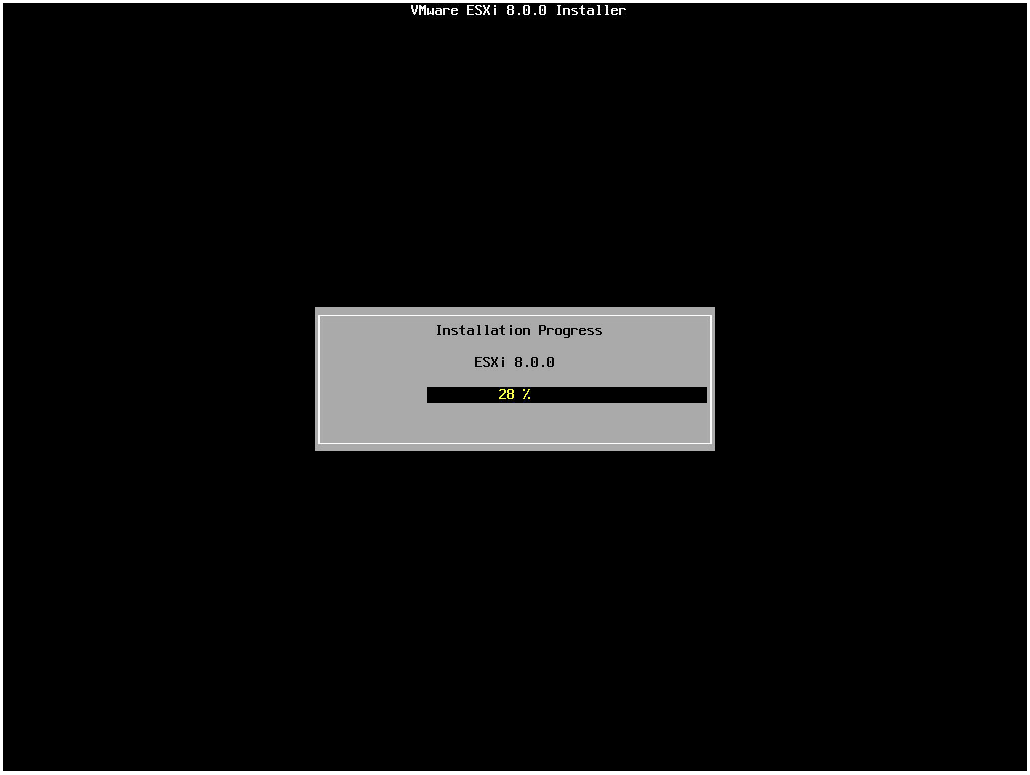
- Press “F11” to confirm the storage device will be repartitioned and start the install.

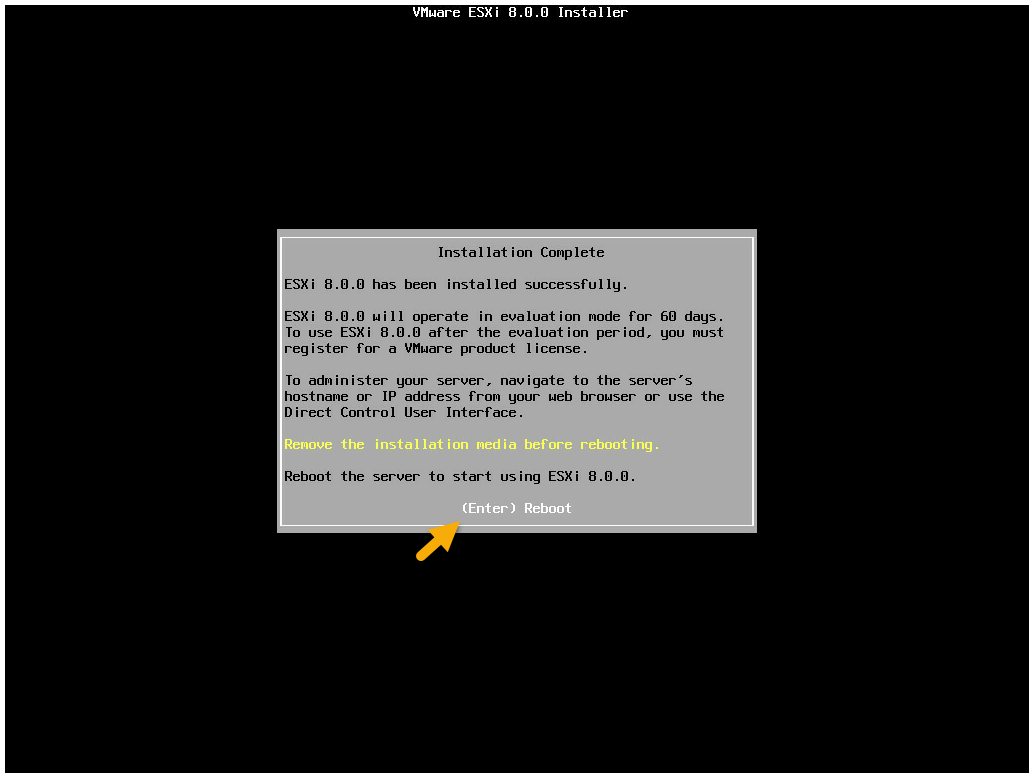
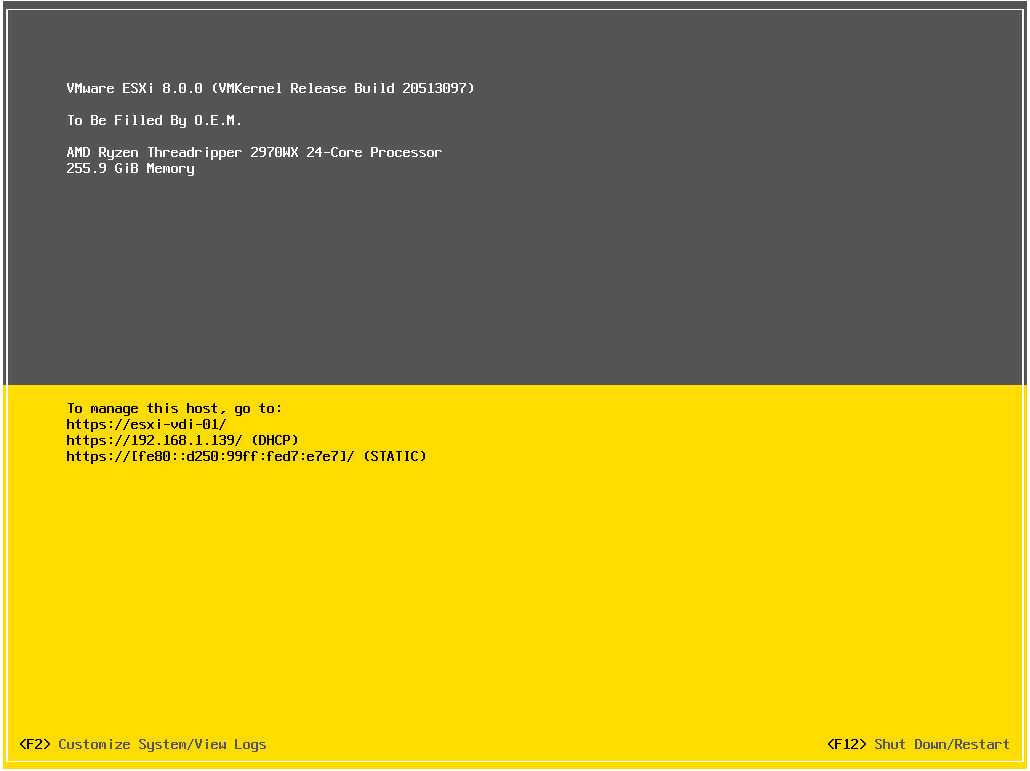
- Press “Enter” at the “Installation Complete” dialog to restart and boot into ESXi.
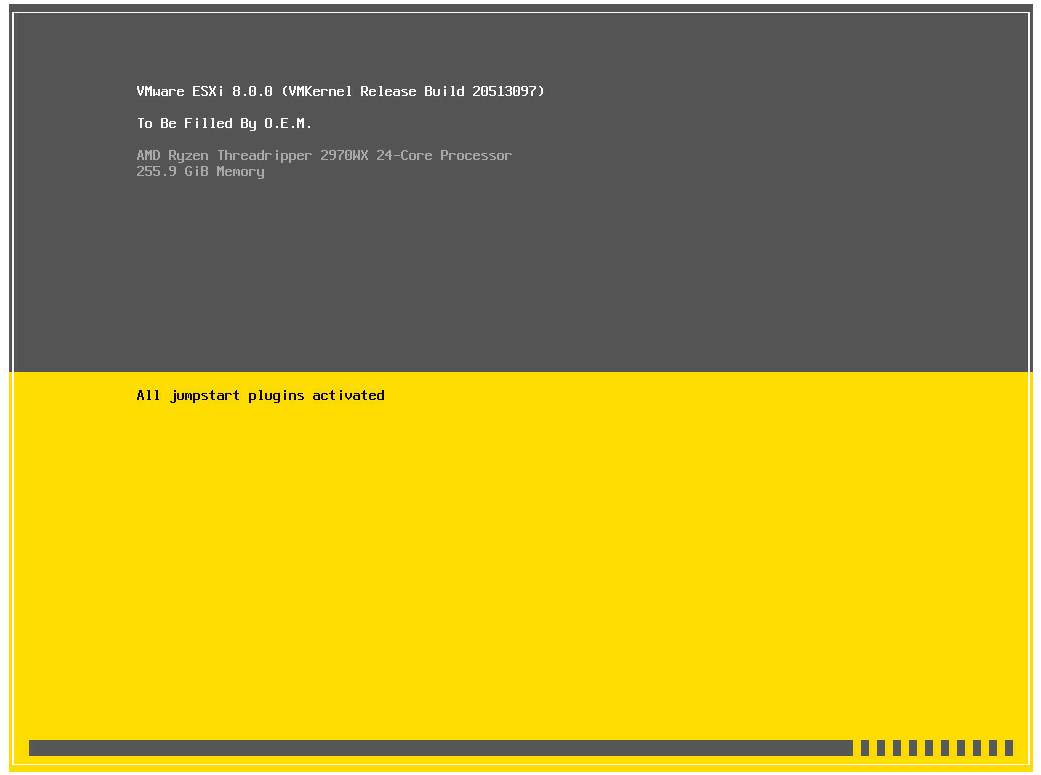
- After booting into ESXi, you will be presented with DCUI (Direct Console User Interface). In the DCUI you can configure the managment network setting. This allows you to configure static IP address, DNS, VLAN, IPv6,etc. For more info about the DCUI see the following VMware DOC.
Note: In this DEMO I am using DHCP to configure the management network.
DCUI ALT + Function keys
- ALT+F1 = Switches to the console.
- ALT+F2 = Switches to the DCUI.
- ALT+F11 = Returns to the banner screen.
- ALT+F12 = Displays the VMkernel log on the console.
-
Note the IP address on the DCUI we will use this to access the ESXi Host Client via Web Browser.
-
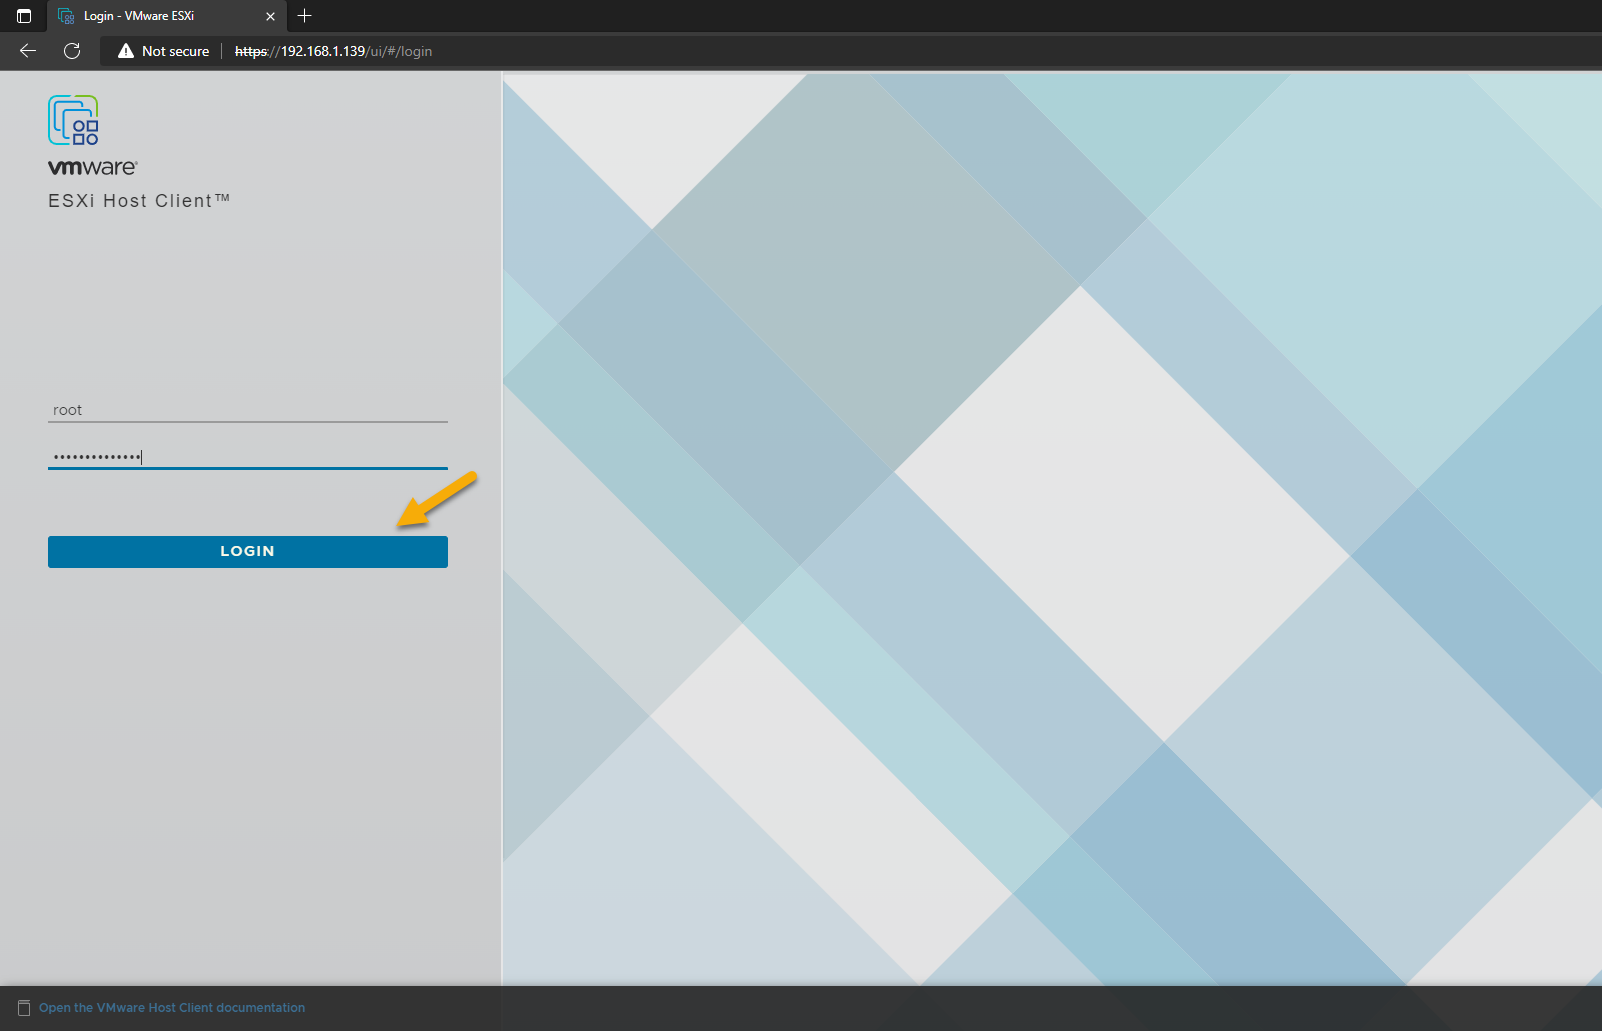
Type in “https://” in the address bar of your web browser and accept the certificate warning.

- Login via the “root” account at the ESXi host client login page.
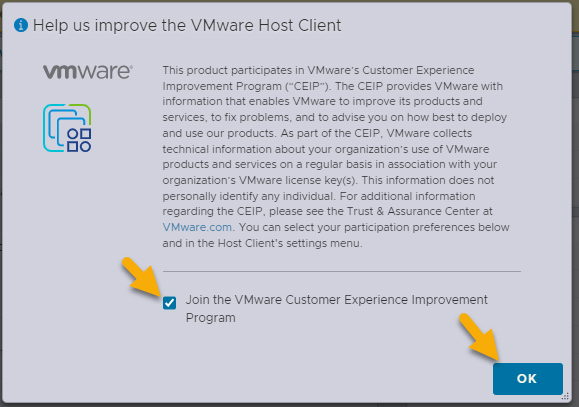
- Configure CEIP and Click “OK” to continue
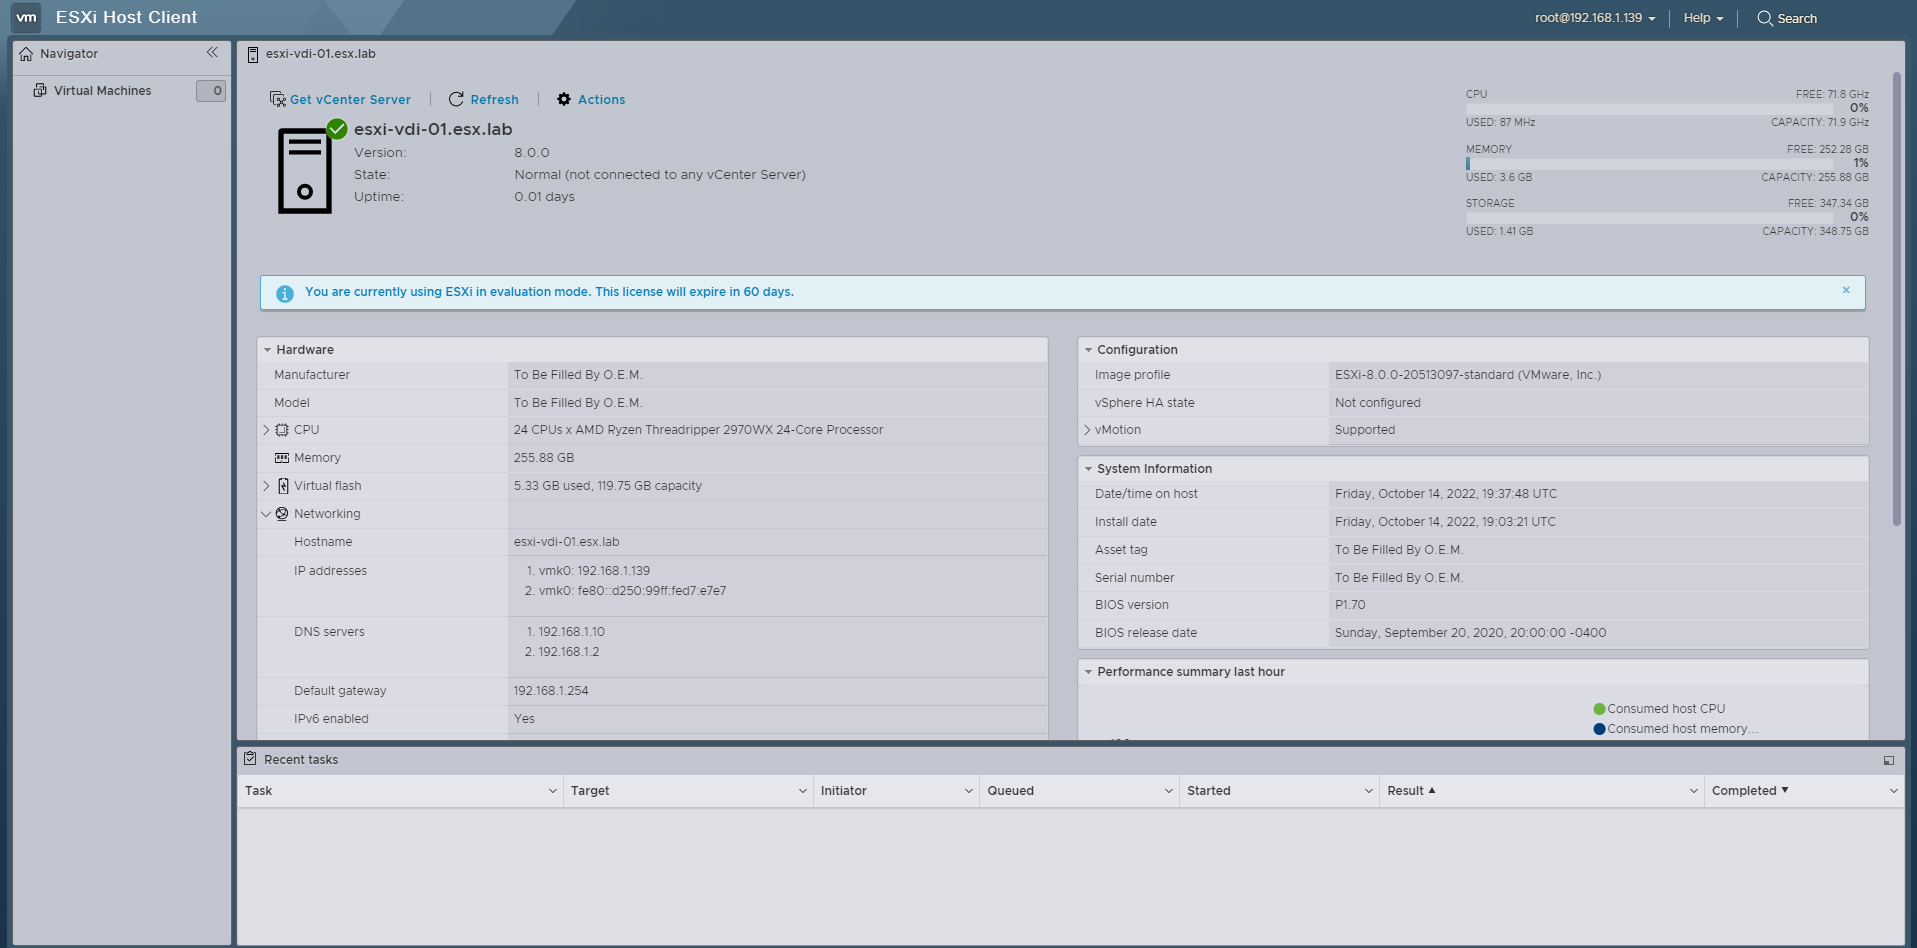
- You have succesfully installed ESXi
Whats next?
You have two paths you can either add the ESXi to vCenter server or manage this host as a standalone ESXi host. See the following VMware Docs:
About vSphere Single Host Management - VMware Host Client Add a Host to a Folder or a Data Center in vCenter
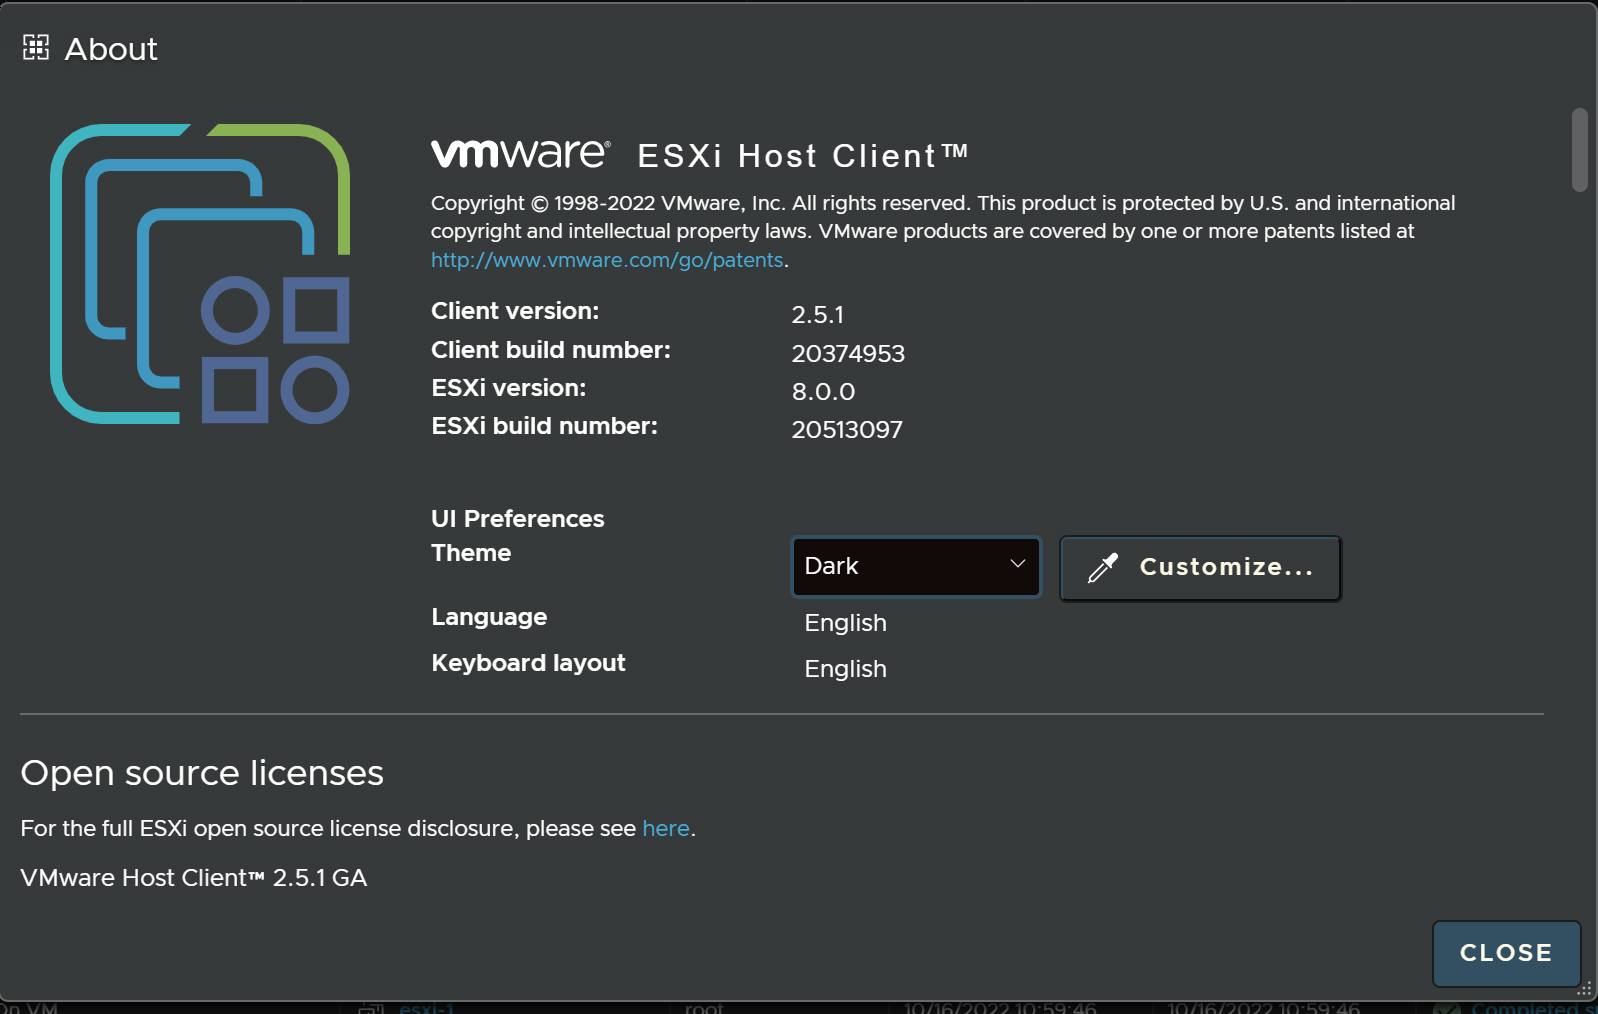
ESXi Host Client v2
I thought it was worth noting that a new version of ESXi host client was released with vSphere 8. This new verison brings a new look to the user interface using Clarity Design System, new accessibility options, customize user theme preferences, administrator login banner, and browser support updates. See “ESXi Host Client v2 usability updates” for more info.