Install and Configure Horizon View 7 Connection Server
Overview
I will be going over how to install and configure horizon view connection server. This includes installing the connection server, licensing horizon view, configure event database, and replacing self signed certificate.
Demo is running Horizon View 7.7, Windows Server 2016, and SQL Server 2017.
Lets begin!
Install connection server
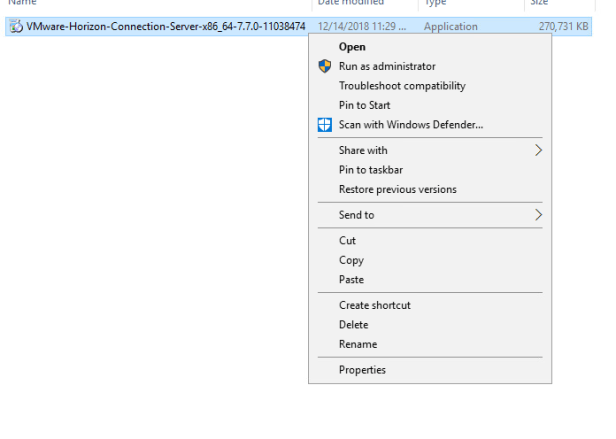
On your Connection Server run “VMware-Horizon-Connection-Server-x86_64-X.X.X.exe” as administrator.
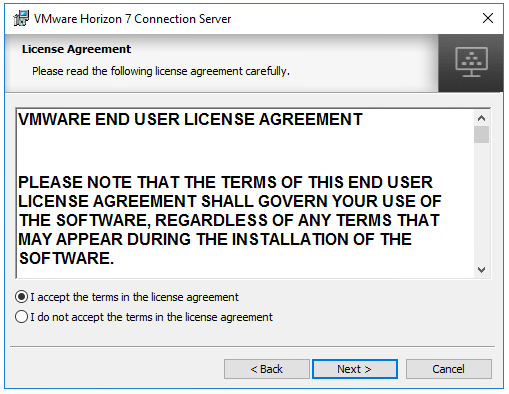
At the welcome screen press next and accept the license agreement.
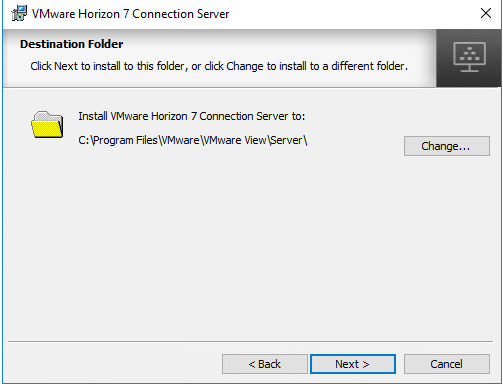
Specify installation location
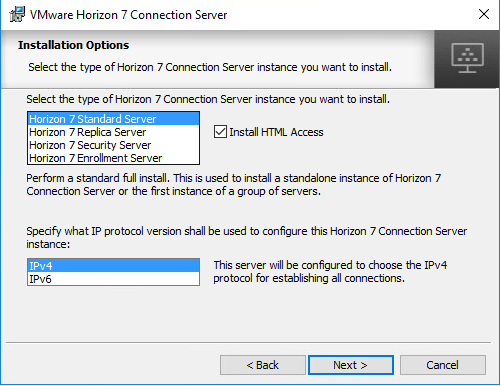
At the installation options screen select Horizon 7 Standard Server and your IP protocol.
Note: Leave Install HTML Access checked if you plan using HTML access function. Otherwise, uncheck to disable this feature.
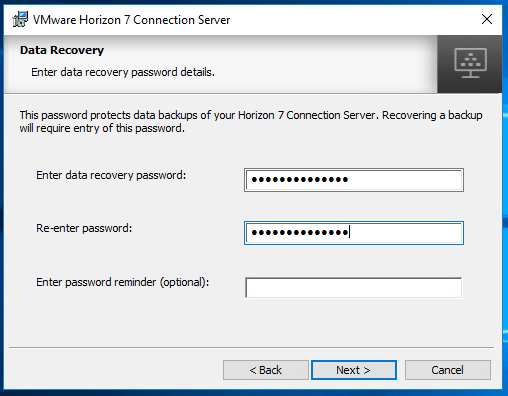
At the Data Recovery screen create a password. This password is required when restoring from a backup. Make sure you remember this password!
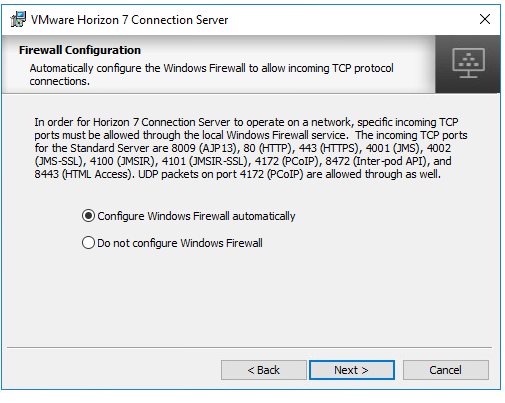
At the firewall configuration screen choose Configure Windows Firewall automatically.
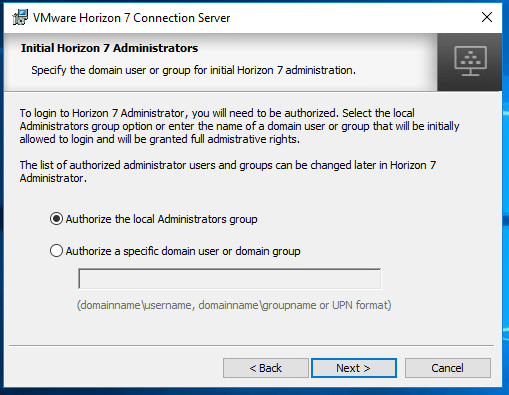
At the Initial Horizon 7 Administrators page chose either Authorize the local Administrators group or Authorize a specific domain user or domain group. This configures administrator permissions to admin console.
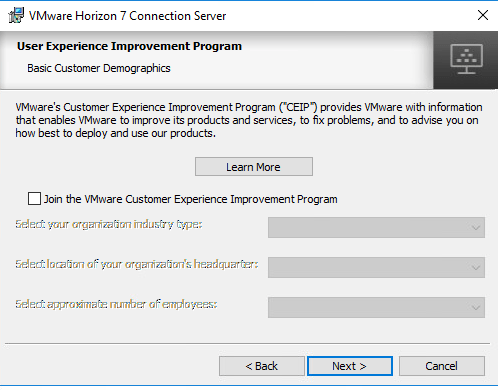
At the user experience improvement program screen you can choose to participate in CEIP program from VMware.
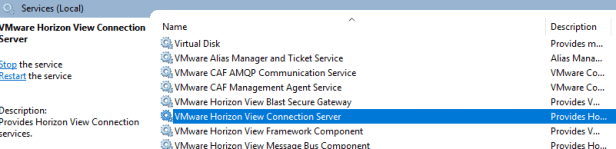
After installation has completed, verify services on connection server.
- VMware Horizon View Blast Secure Gateway
- VMware Horizon View Connection Server
- VMware Horizon View Framework Component
- VMware Horizon View Message Bus Component
- VMware Horizon View PCoIP Secure Gateway
- VMware Horizon View Script Host
- VMware Horizon View Security Gateway Component
- VMware Horizon View Web Component
- VMwareVDMDS
Verify web interface is reachable (HTTPS://FQDN of connection server)
You have successfully installed connection server.
Licensing Horizon View
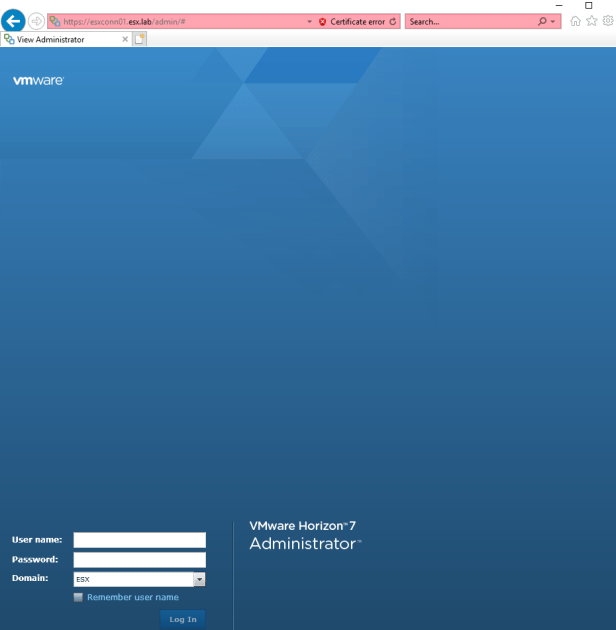
Open a web browser and connect to the admin interface of a connection server. (HTTPS://FQDN of connection server/admin) and log in.
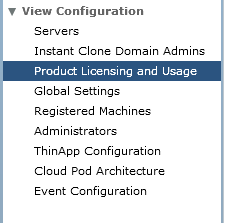
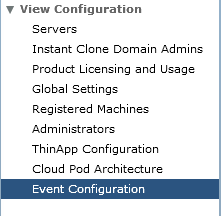
Once logged in go to “Product and Licensing and Usage” under “View Configuration”
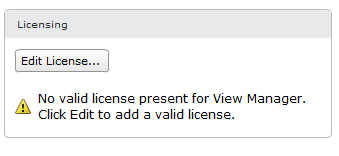
Click “Edit License” and add license.
Configure Event Database
Go to Event Configuration under View Configuration
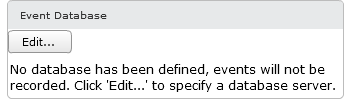
Click edit on Event Database
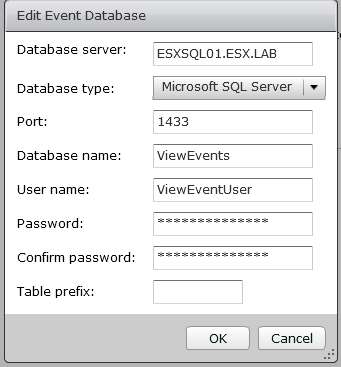
Edit Event Database window should appear. Provide the information for the following:
- Database Server
- Hostname/FQDN of Database Server
- Database Type
- Microsoft SQL Server/ Orcale
- Database
- Name of Event Database (Example “ViewEvents”
- User Name
- Name of account be used to create connection between the database server and connection server.
- Use SQL Server Authentication for this user. Do not use the Integrated Windows Authentication security model method of authentication.
- Password/Confirm Paassword
- Password of user account used to connect to SQL Server
Press OK to configure your event database.
You have successfully configured event database.
Replace Self Signed Certificate
Prerequisites to replacing self signed certificate on connection/replica server you will need to have certificate authority in your environment. If you don’t already have CA in your environment. Please see my guide on how to Install Active Directory Certificate Services.
Create Certificate Template
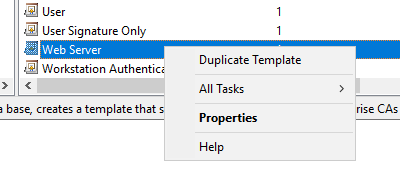
Open Certificate Templates management console.
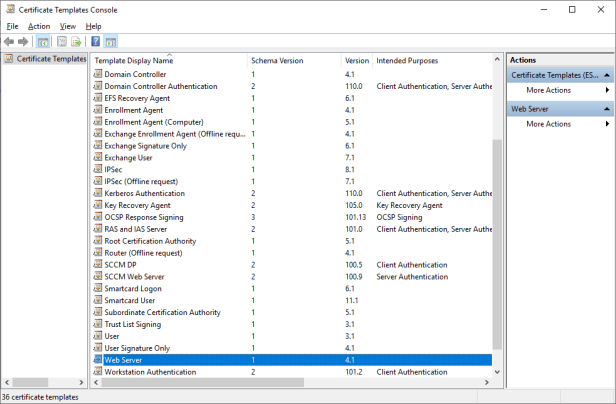
Right Click on Web Server and select duplicate template.
Template settings:
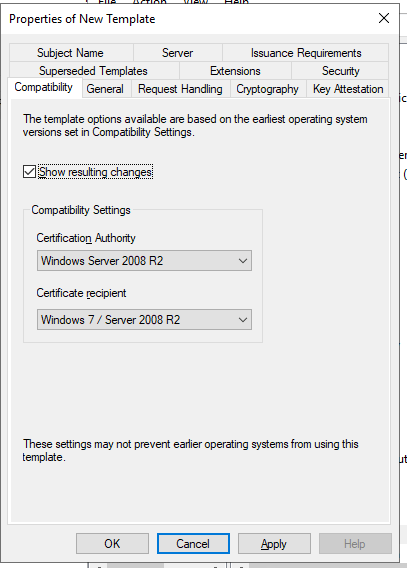
- Compatibility
- Certificate Authority: Windows Server 2008 R2
- Certificate recipient : Windows 7/ Server 2008 R2
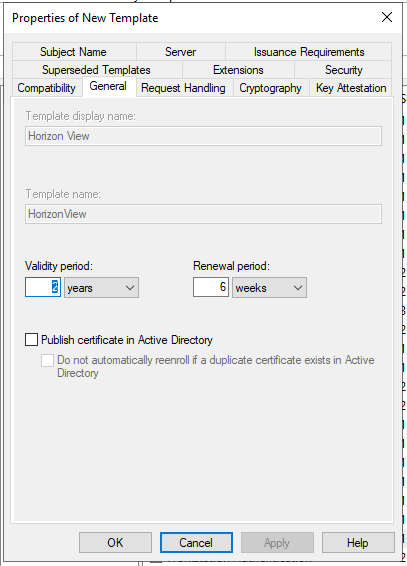
- General (These settings we will based on environment requirements. I will be providing lab settings for now.)
- Template Display name: Horizon View
- Validity period: 2 Years
- Renewal Period: 6 Weeks
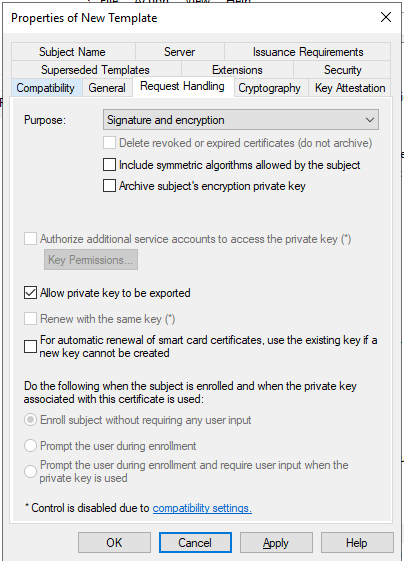
- Request Handling
- Allow Private Key to be exported.
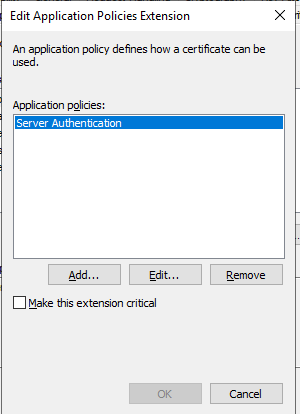
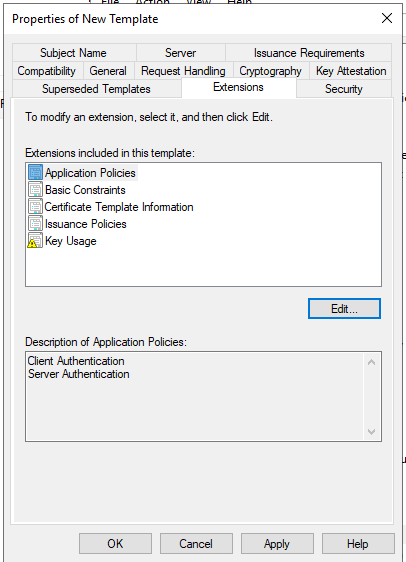
- Extension
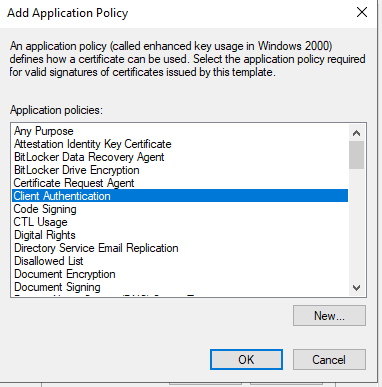
- Edit Applications Policies
- Click Add and Select “Client Authentication”
- Edit Applications Policies
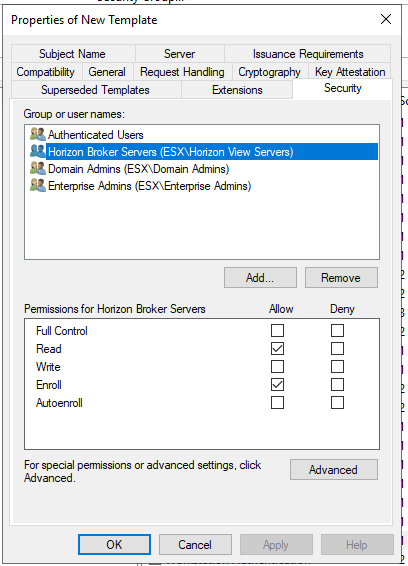
- Security
- Add Computer Object or Security group
- Select allow for Read and Enroll permissions.
Note: I recommend creating a security group and nesting your connection server and replica servers inside the security group. Then adding the security group to security tab for read and enroll privileges.
Side Note: When adding a computer account to security group you might need to reset the whole cache of Kerberos tickets on a computer (local system) in order to update the computer memberships. See more about this at the bottom of the page.
Now that the template has been created we will need to issue the certificate template through Certificate Authority management console.
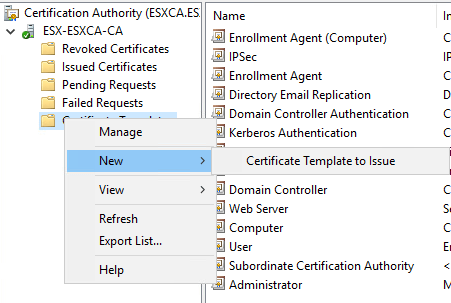
Open Certificate Authority management console again. Right click on Certificate Templates select new and then Certificate Templates to issue.
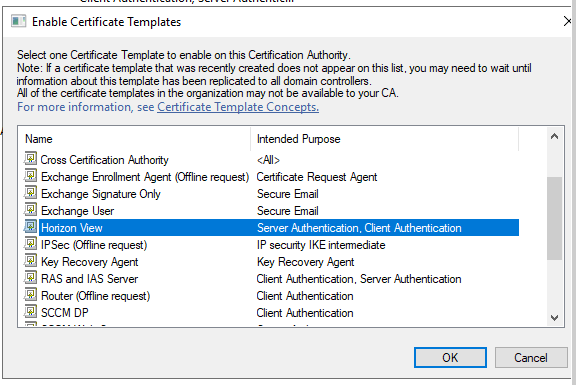
Select “Horizon View” template and click ok.
You have successfully configure the certificate template.
Quick Side note…
When adding a computer account to security group you might need to reset the whole cache of Kerberos tickets on a computer (local system) in order to update the computer memberships. If not the enrollment process might fail. You can reset whole cache the Kerberos tickets on a computer by running klist or rebooting the computer. Either way will reset the Kerberos cache on the computer.
To use klist method do the following:
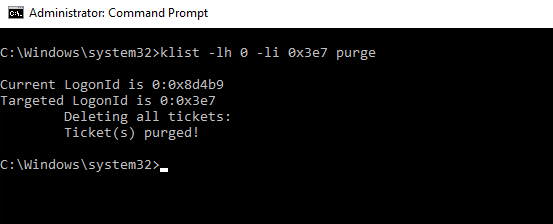
- Run command prompt as administrator
- Type the following command
- klist -lh 0 -li 0x3e7 purge
- After running klist command run a group policy update
- gpupdate /force
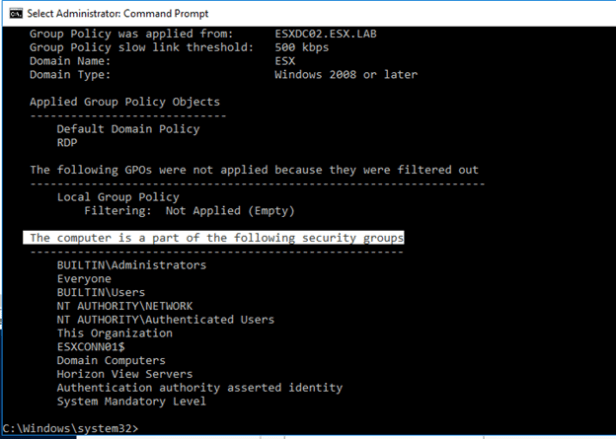
- After running the klist command, run a gpresult to verify.
- gpresult /r /scope computer
- Look under “The computer is a part of the following security groups.” to verify the computer is now part of the new security group.
Replace Connection/Replica Self Signed Certificate
On your connection server open Microsoft management console (mmc.exe)
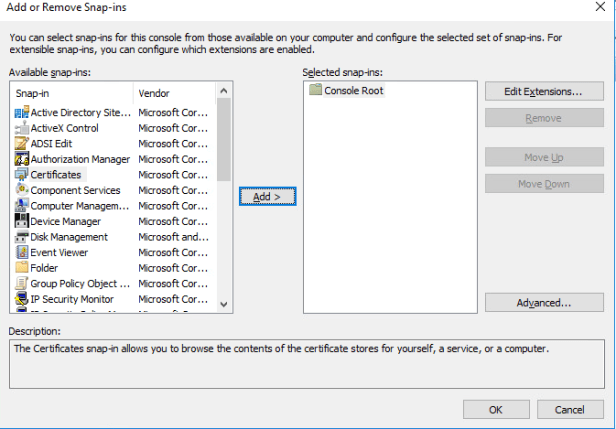
Click file and select add/remove snap-in

Select certificate snap-in and press add
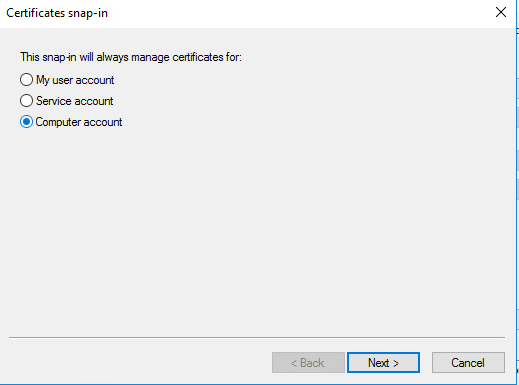
Select computer account and press next.
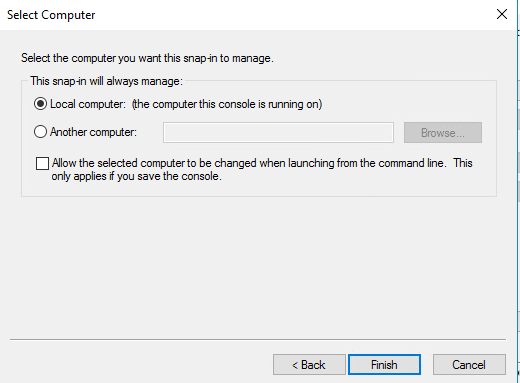
Select local computer and finish
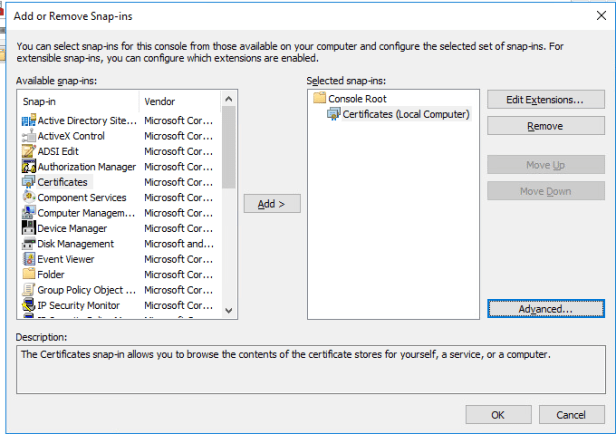
Press ok on add or remove Snap-ins
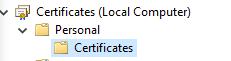
In certificates management console navigate to a folder under personal called Certificates.
Look for a certificate that has a friendly name of “vdm”
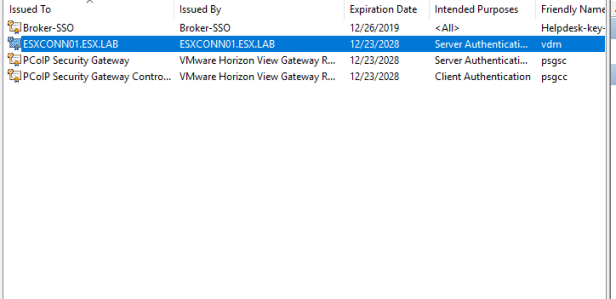
Right click on the “vdm” certificates and select properties
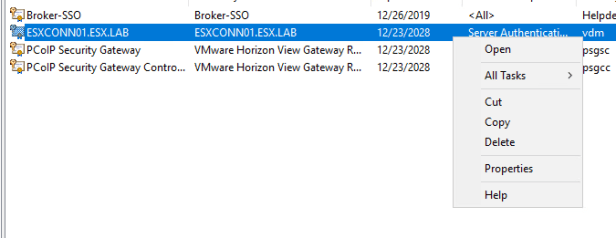
At the properties page change the friendly name from “vdm” to “vdm-old” and then press OK.

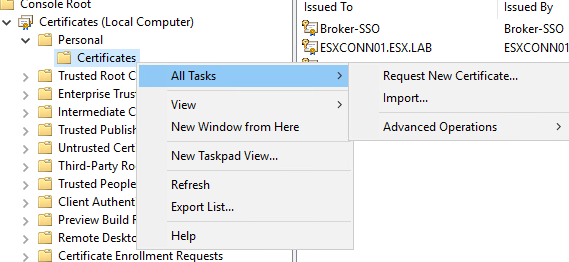
Right click on the certificate folder and select request new certificate under all tasks.
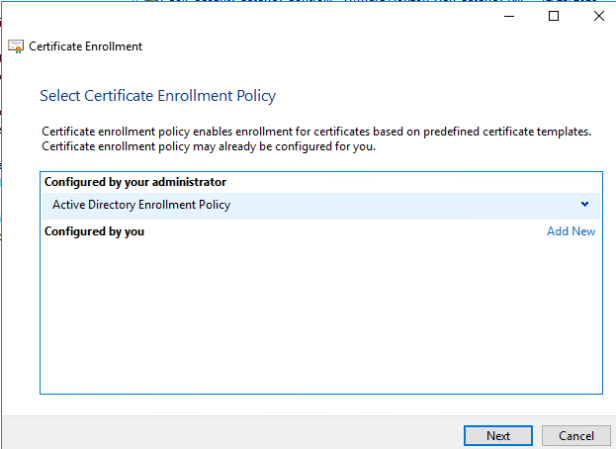
Certificate Enrollment wizard will appear. Press next and select Active Directory Enrollment Policy and press next again.
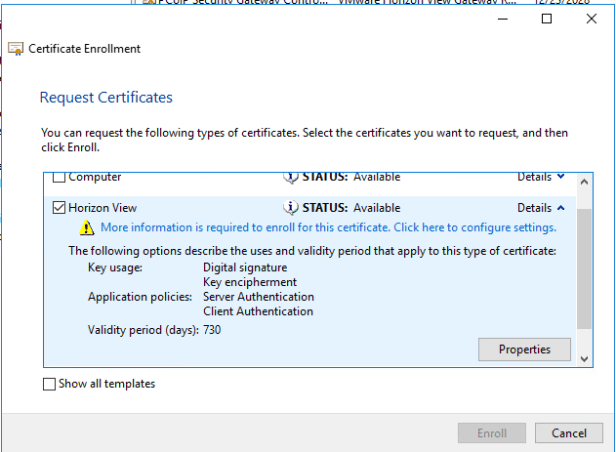
Select the Horizon View template and expand details. Once details has been expanded click on properties.
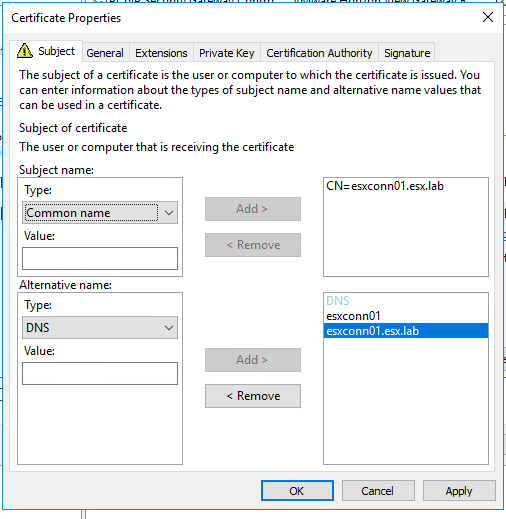
Under the subject tab configure the following:
- Subject Name
- Type: Common Name
- FQDN of connection/replica server
- Alternative Name:
- Type: DNS
- Hostname
- FQDN
- Type: DNS
NOTE: If you plan on using load balancer or alias make sure to include the CNAME FQDN and hostname in the DNS type under alternative name.
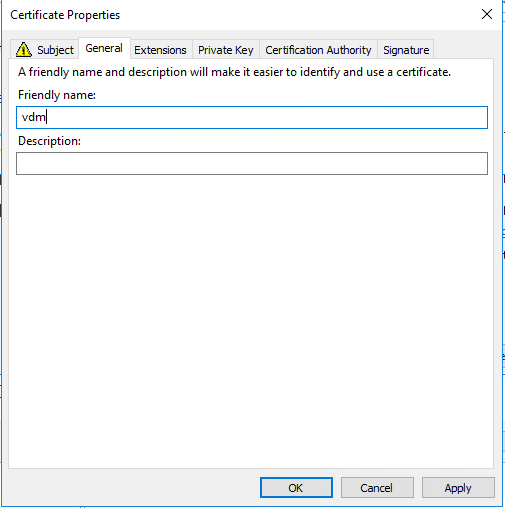
Under the general tab add “vdm” in the friendly name section.
Once both subject and general tab are done press ok and then enroll. The enrollment should now be completed.
Open services and restart VMware Horizon View Connection Server
After the VMware Horizon View Connection Server services has restarted. Log into the view admin console and verify connection show green.
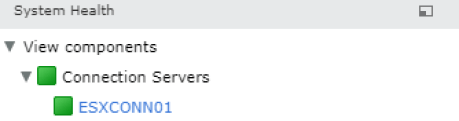
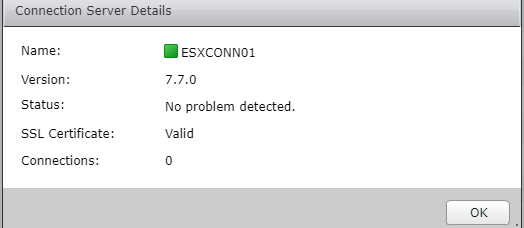
You have successfully replaced the self signed certificate.